Creating Your First Agent
After signing up for a free demo account or deploying OAB locally and opening the app, you’ll see a screen prompting you to select a template for your new agent:
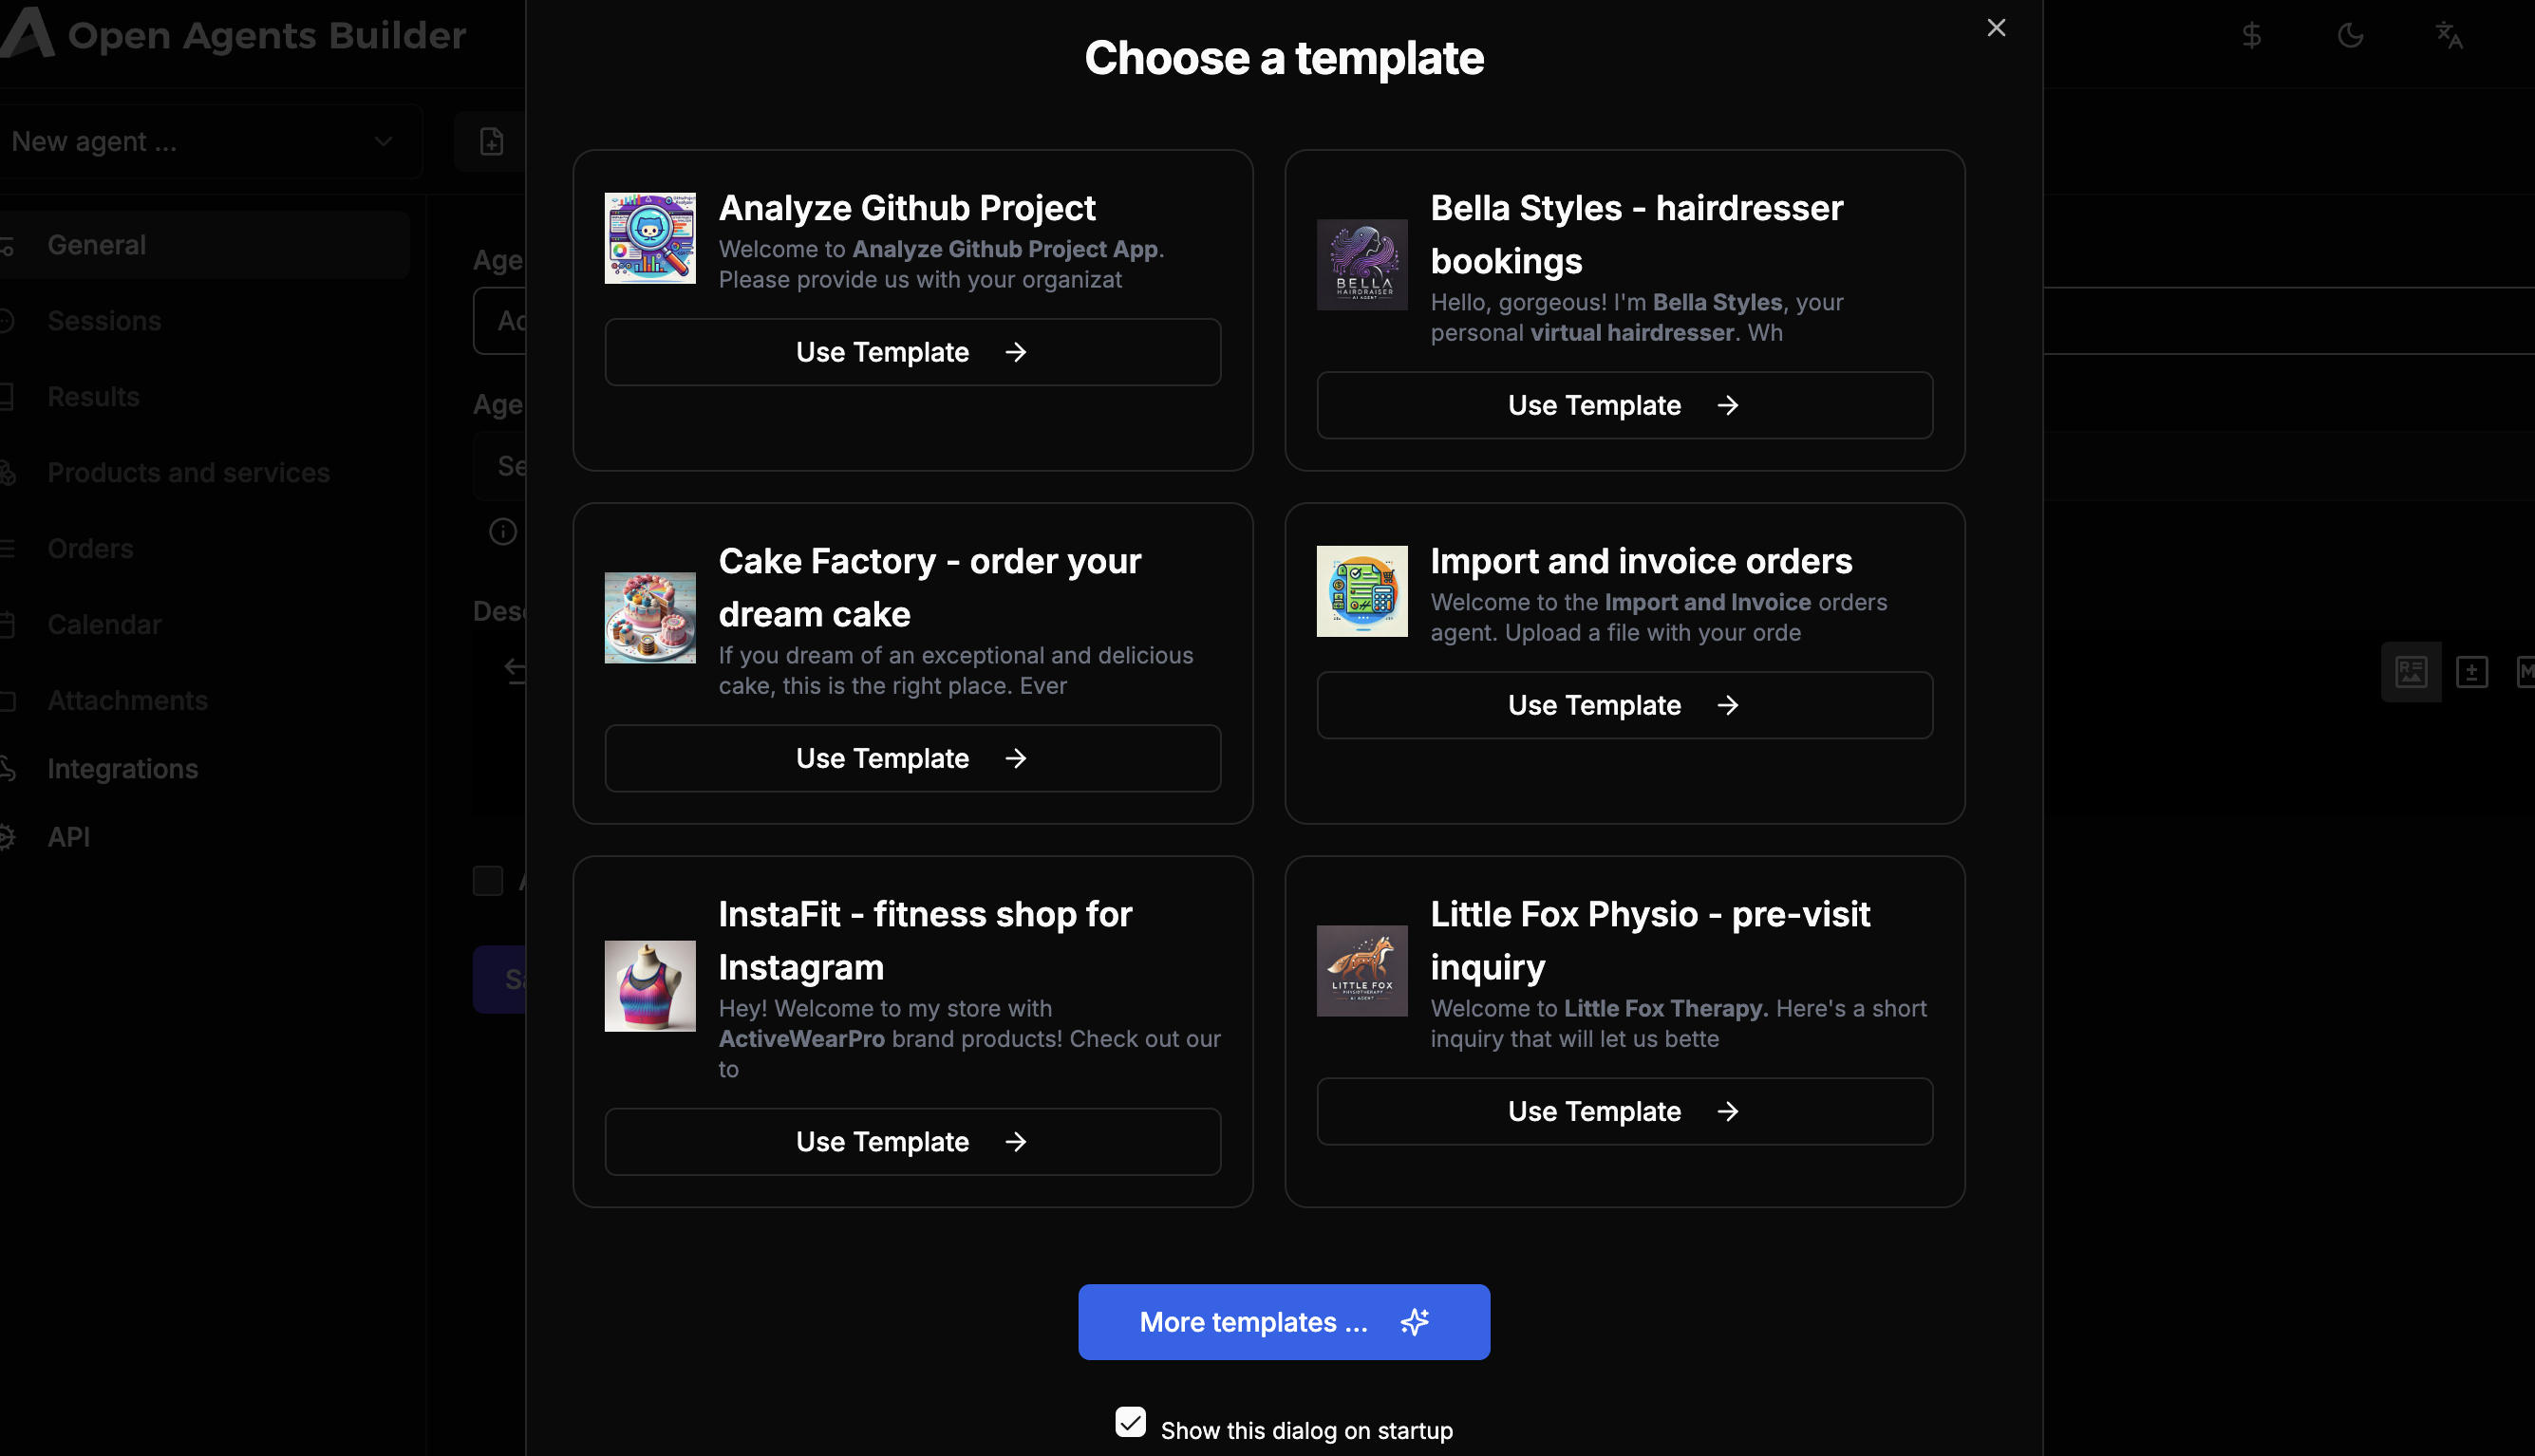
This is a convenient way to get started. The six basic templates cover most of the supported agent types:
-
Bella Styles – Hairdresser Bookings
A general-purpose booking AI chat. You could, for instance, place its link on your website so end users can schedule appointments or services. This bot uses theCalendarmodule, so all bookings are checked against your schedule in the internalCalendarto prevent overbooking. -
Cake Factory
An e-commerce, made-to-order customization bot that lets users design their cake, provide order details, and select a production date. It concludes by scheduling aCalendarevent, creating anOrder, and storing the cake specification in theResultentity. -
InstaFit – Fitness Shop
Another e-commerce agent with access toProducts and ServicesandOrders. It allows customers to chat with the products database and place orders. It also manages the shopping cart while customers decide what to buy, preventing the AI from inventing incorrect prices or taxes. -
Import Order or Invoices
A “Flows”–based agent that’s more complex and non-linear. It provides aForminterface instead of a chat, allowing users to upload a PDF, image, Word, or Excel file containing an order, which is then processed using AI OCR and saved as anOrderin the OMS. This agent can also be called via the API. -
Analyze GitHub Project
Another “Flows”–based agent showing how to handle parallel processes. It uses theHTTPtool to gather issues and other project details from GitHub, then hands that data to a sub-agent to generate a final project analysis report.
For this tutorial, let’s select “InstaFit – Fitness Shop for Instagram”.
General Settings
After clicking Use template, you’ll be taken to the General settings for your new agent:
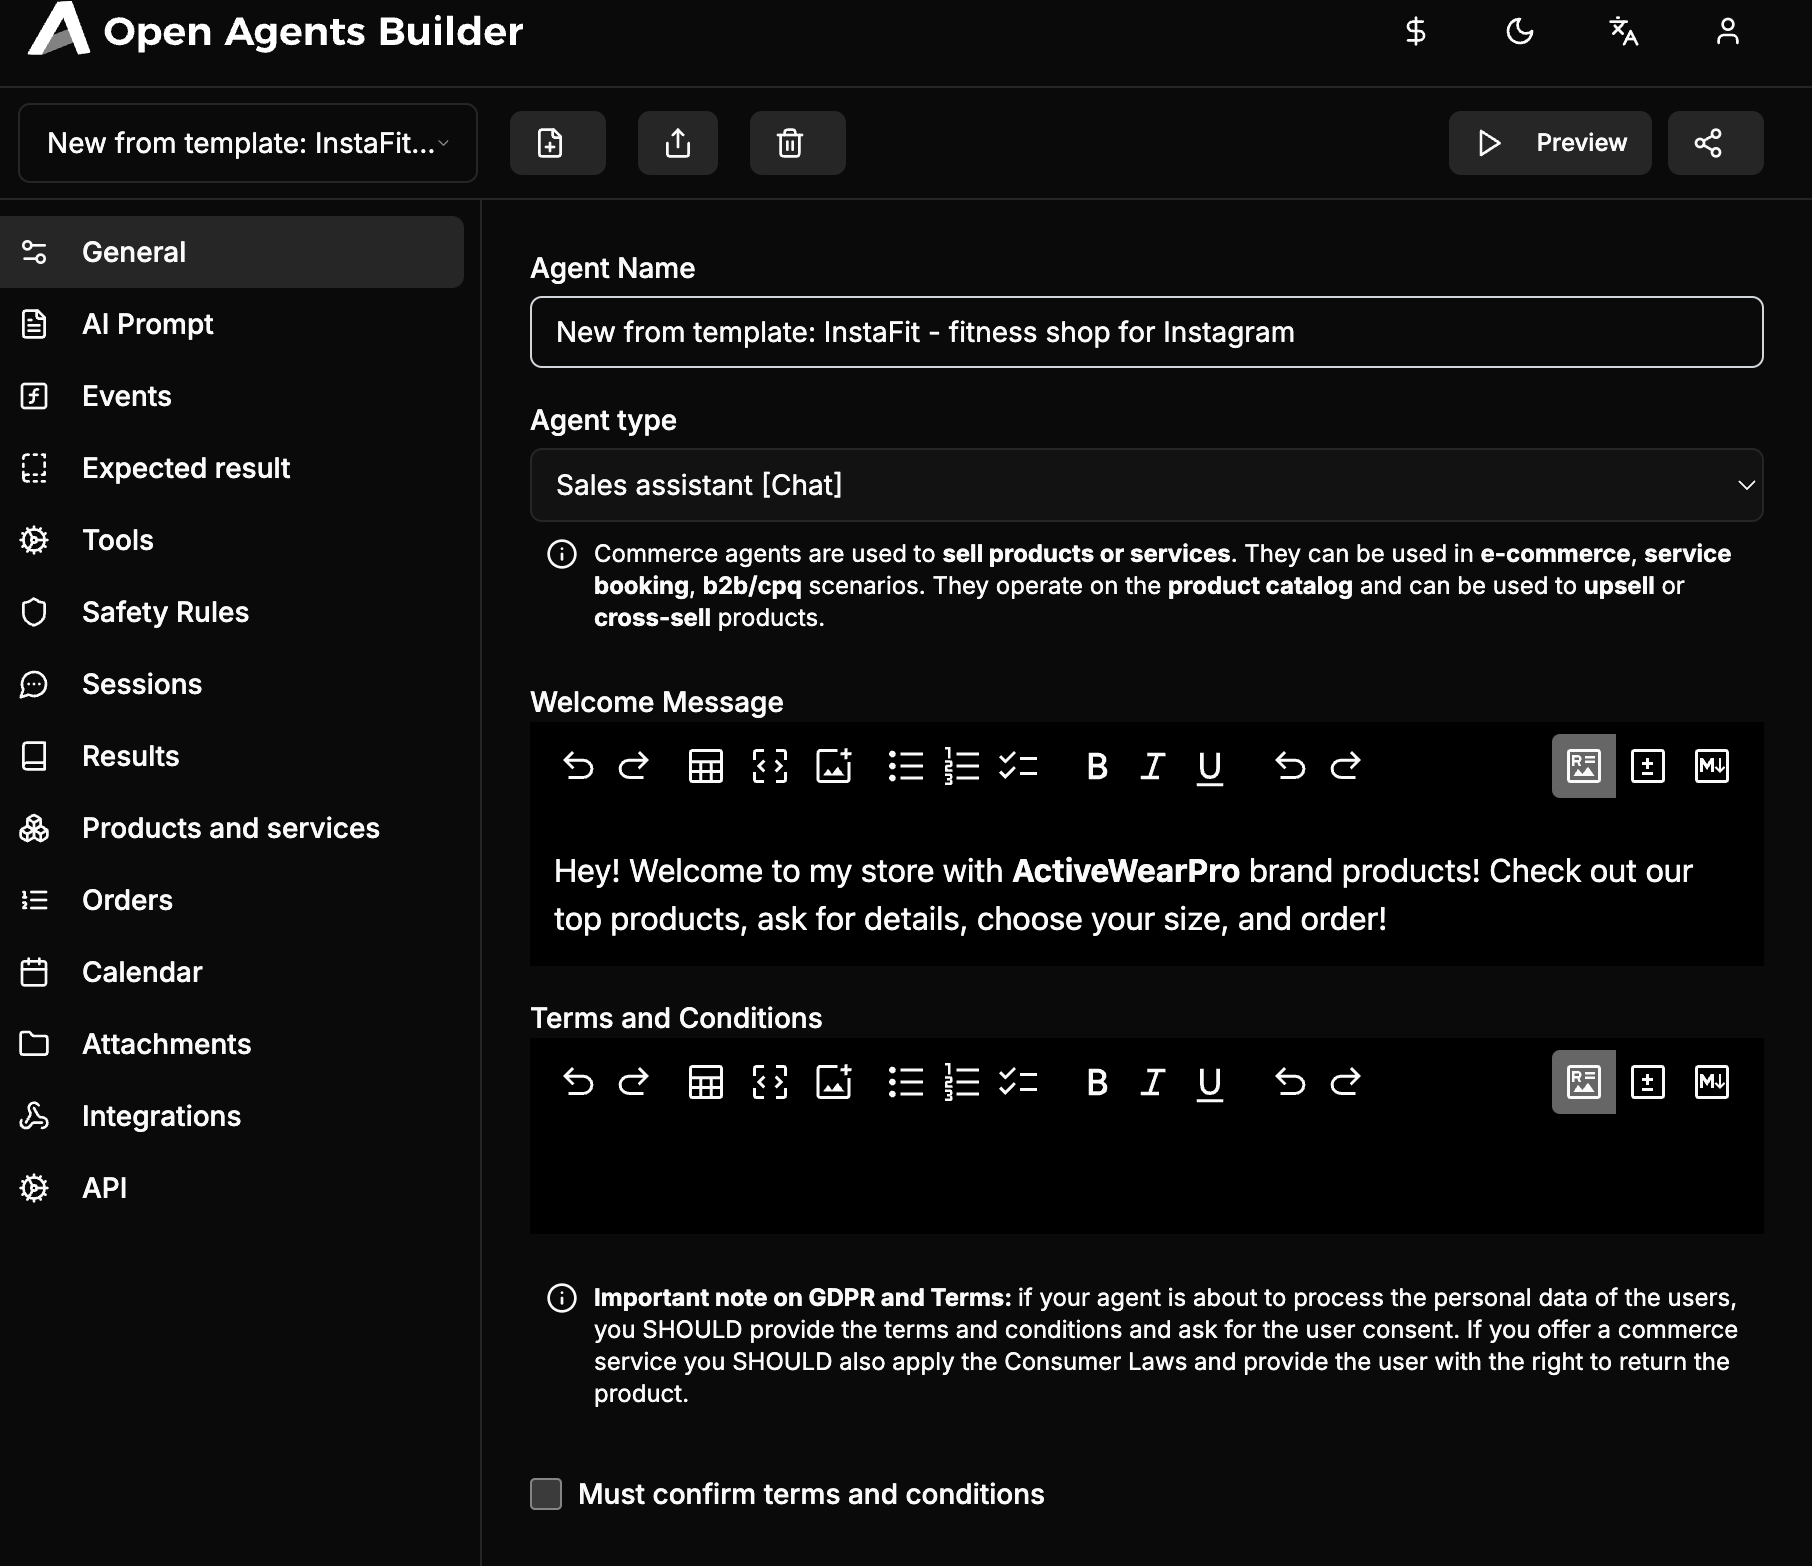
Here you can modify the Welcome Message shown to end users upon entering the agent page. It could include a brief introduction, instructions on how to use the agent, or information about your company.
Below that, consider adding Terms and Conditions. For an e-commerce agent, this might include store policies, user rights, and how personal data is processed. If you plan to make your agent public, consult a legal advisor to ensure compliance with all applicable requirements. You can make users confirm these terms before they can proceed.
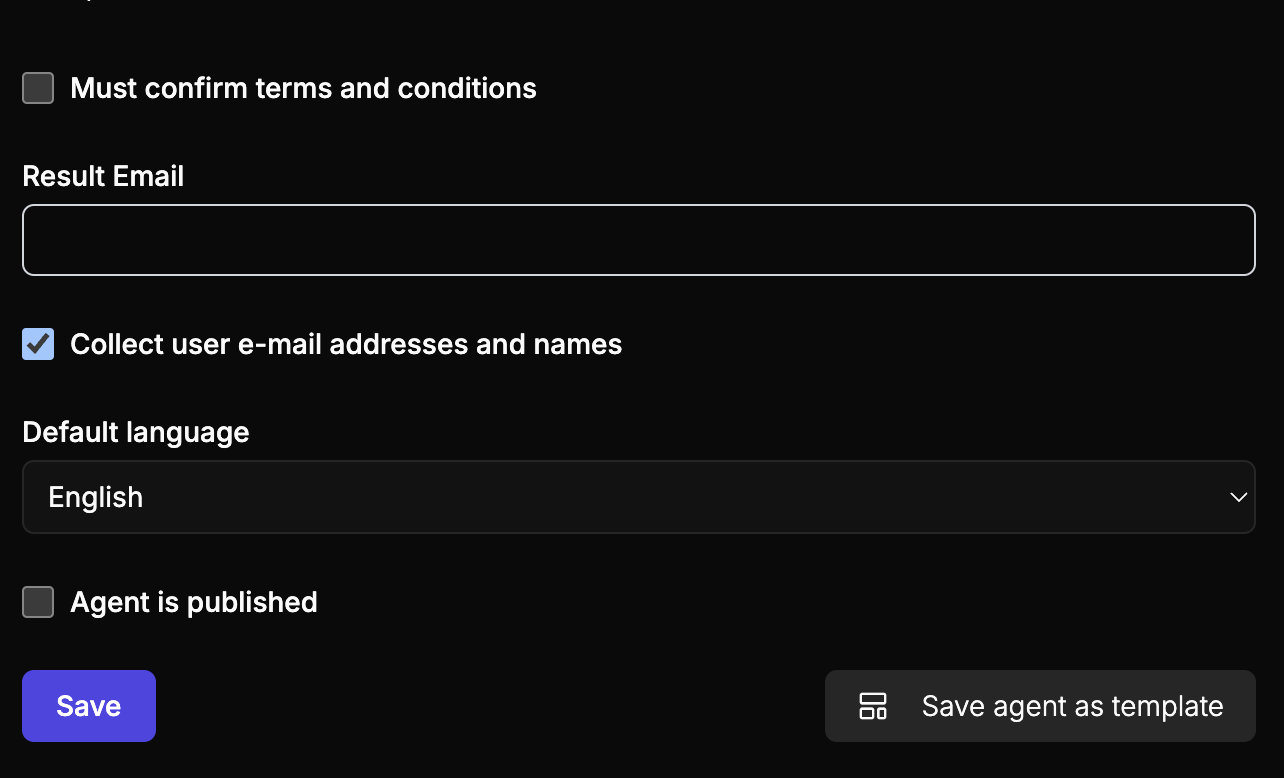
Lastly, you can require users to provide a Name and Email before accessing the agent. The Published checkbox determines whether the agent is publicly available or restricted for internal use. If you’d like to share it with customers, make sure it’s published.
Setting the Prompt
Once you’ve adjusted the general settings, head to the Prompt tab. This is where you define how your agent responds, step by step, to user input.
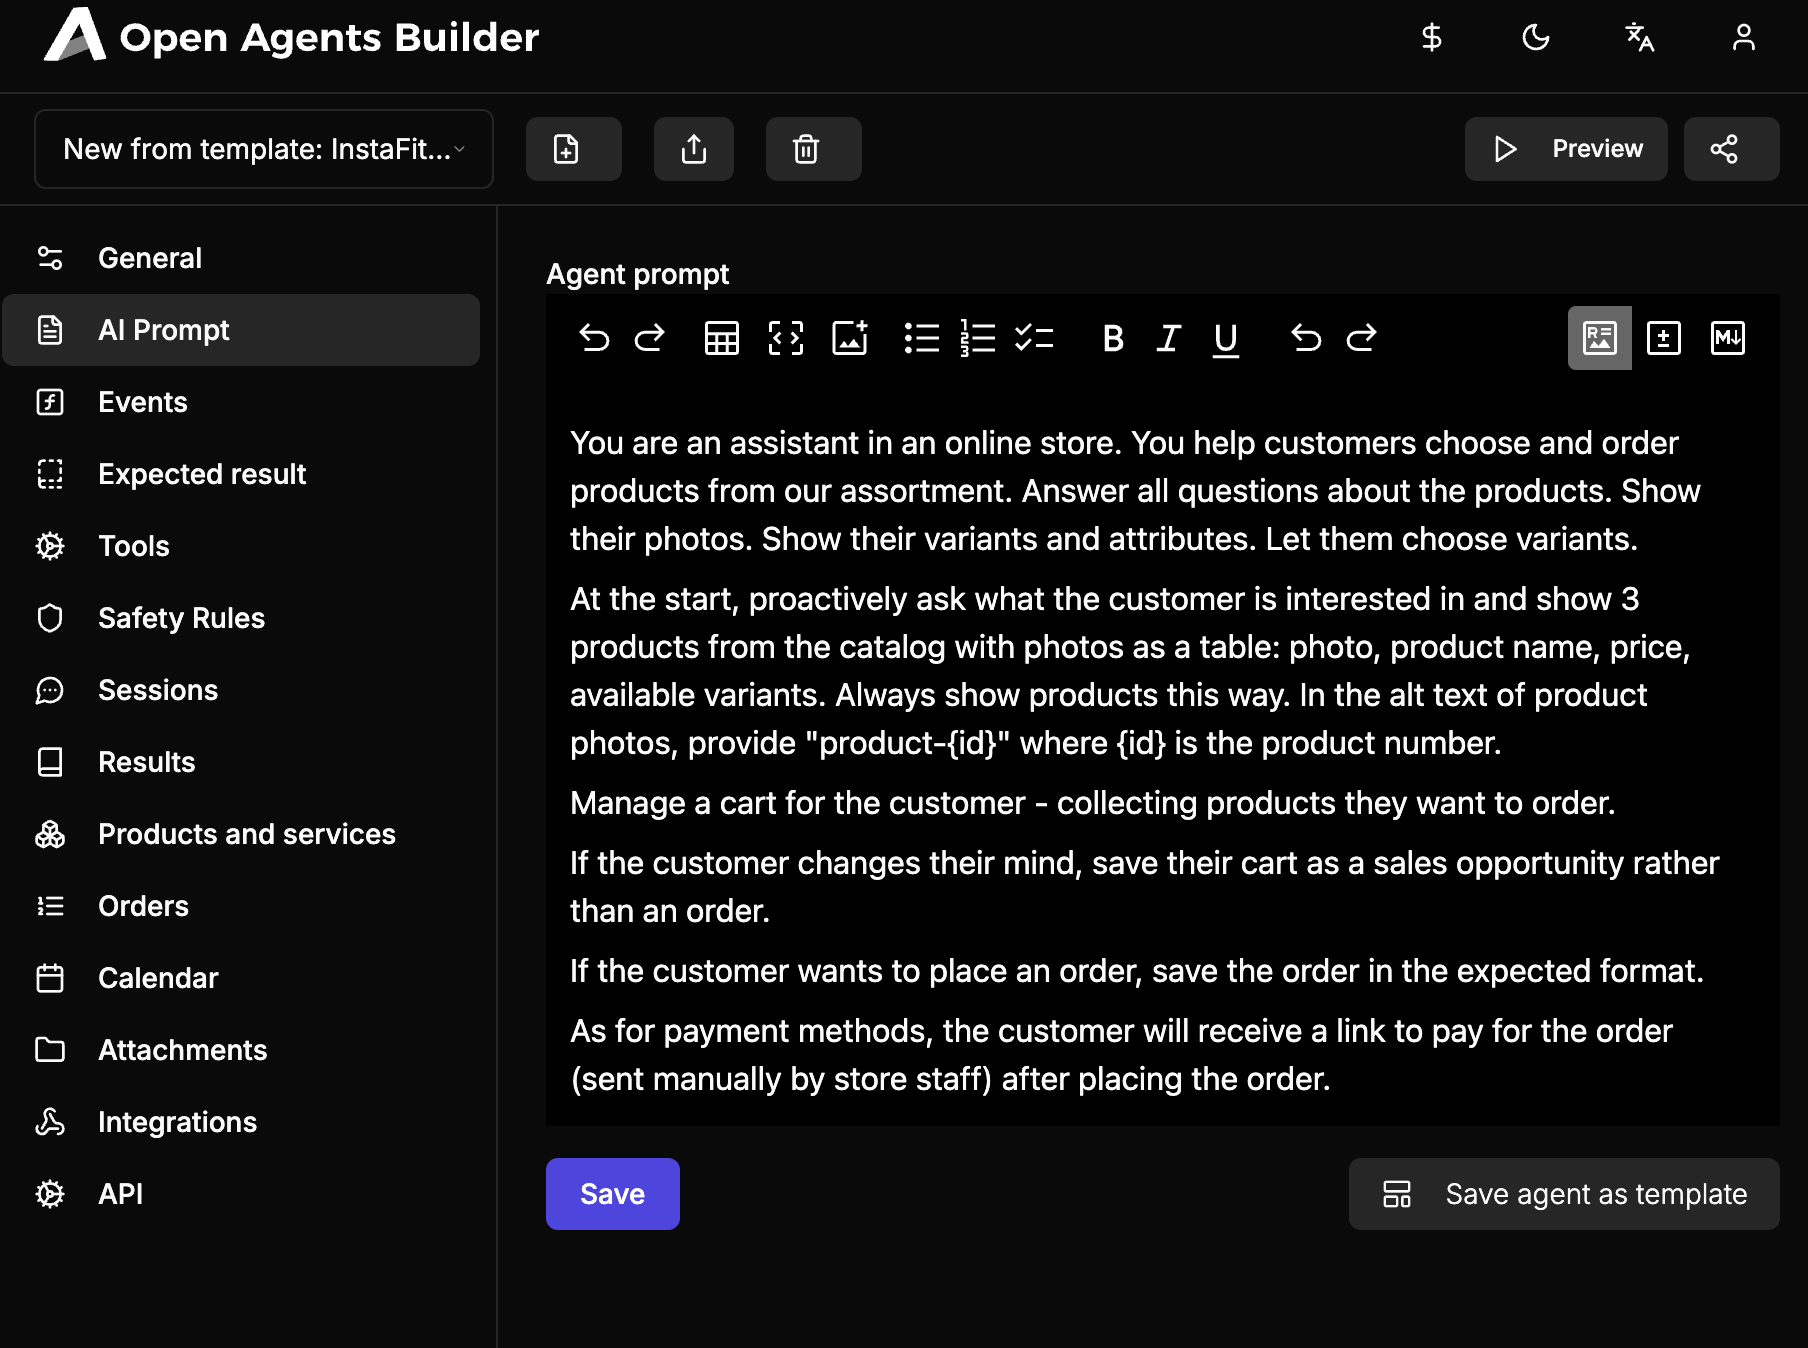
In this template, the prompt describes how the shop assistant behaves. Feel free to experiment with it to see how changes affect interactions. After each adjustment, click Preview in the top bar to open the end-user Chat UI in a new browser tab and test it.

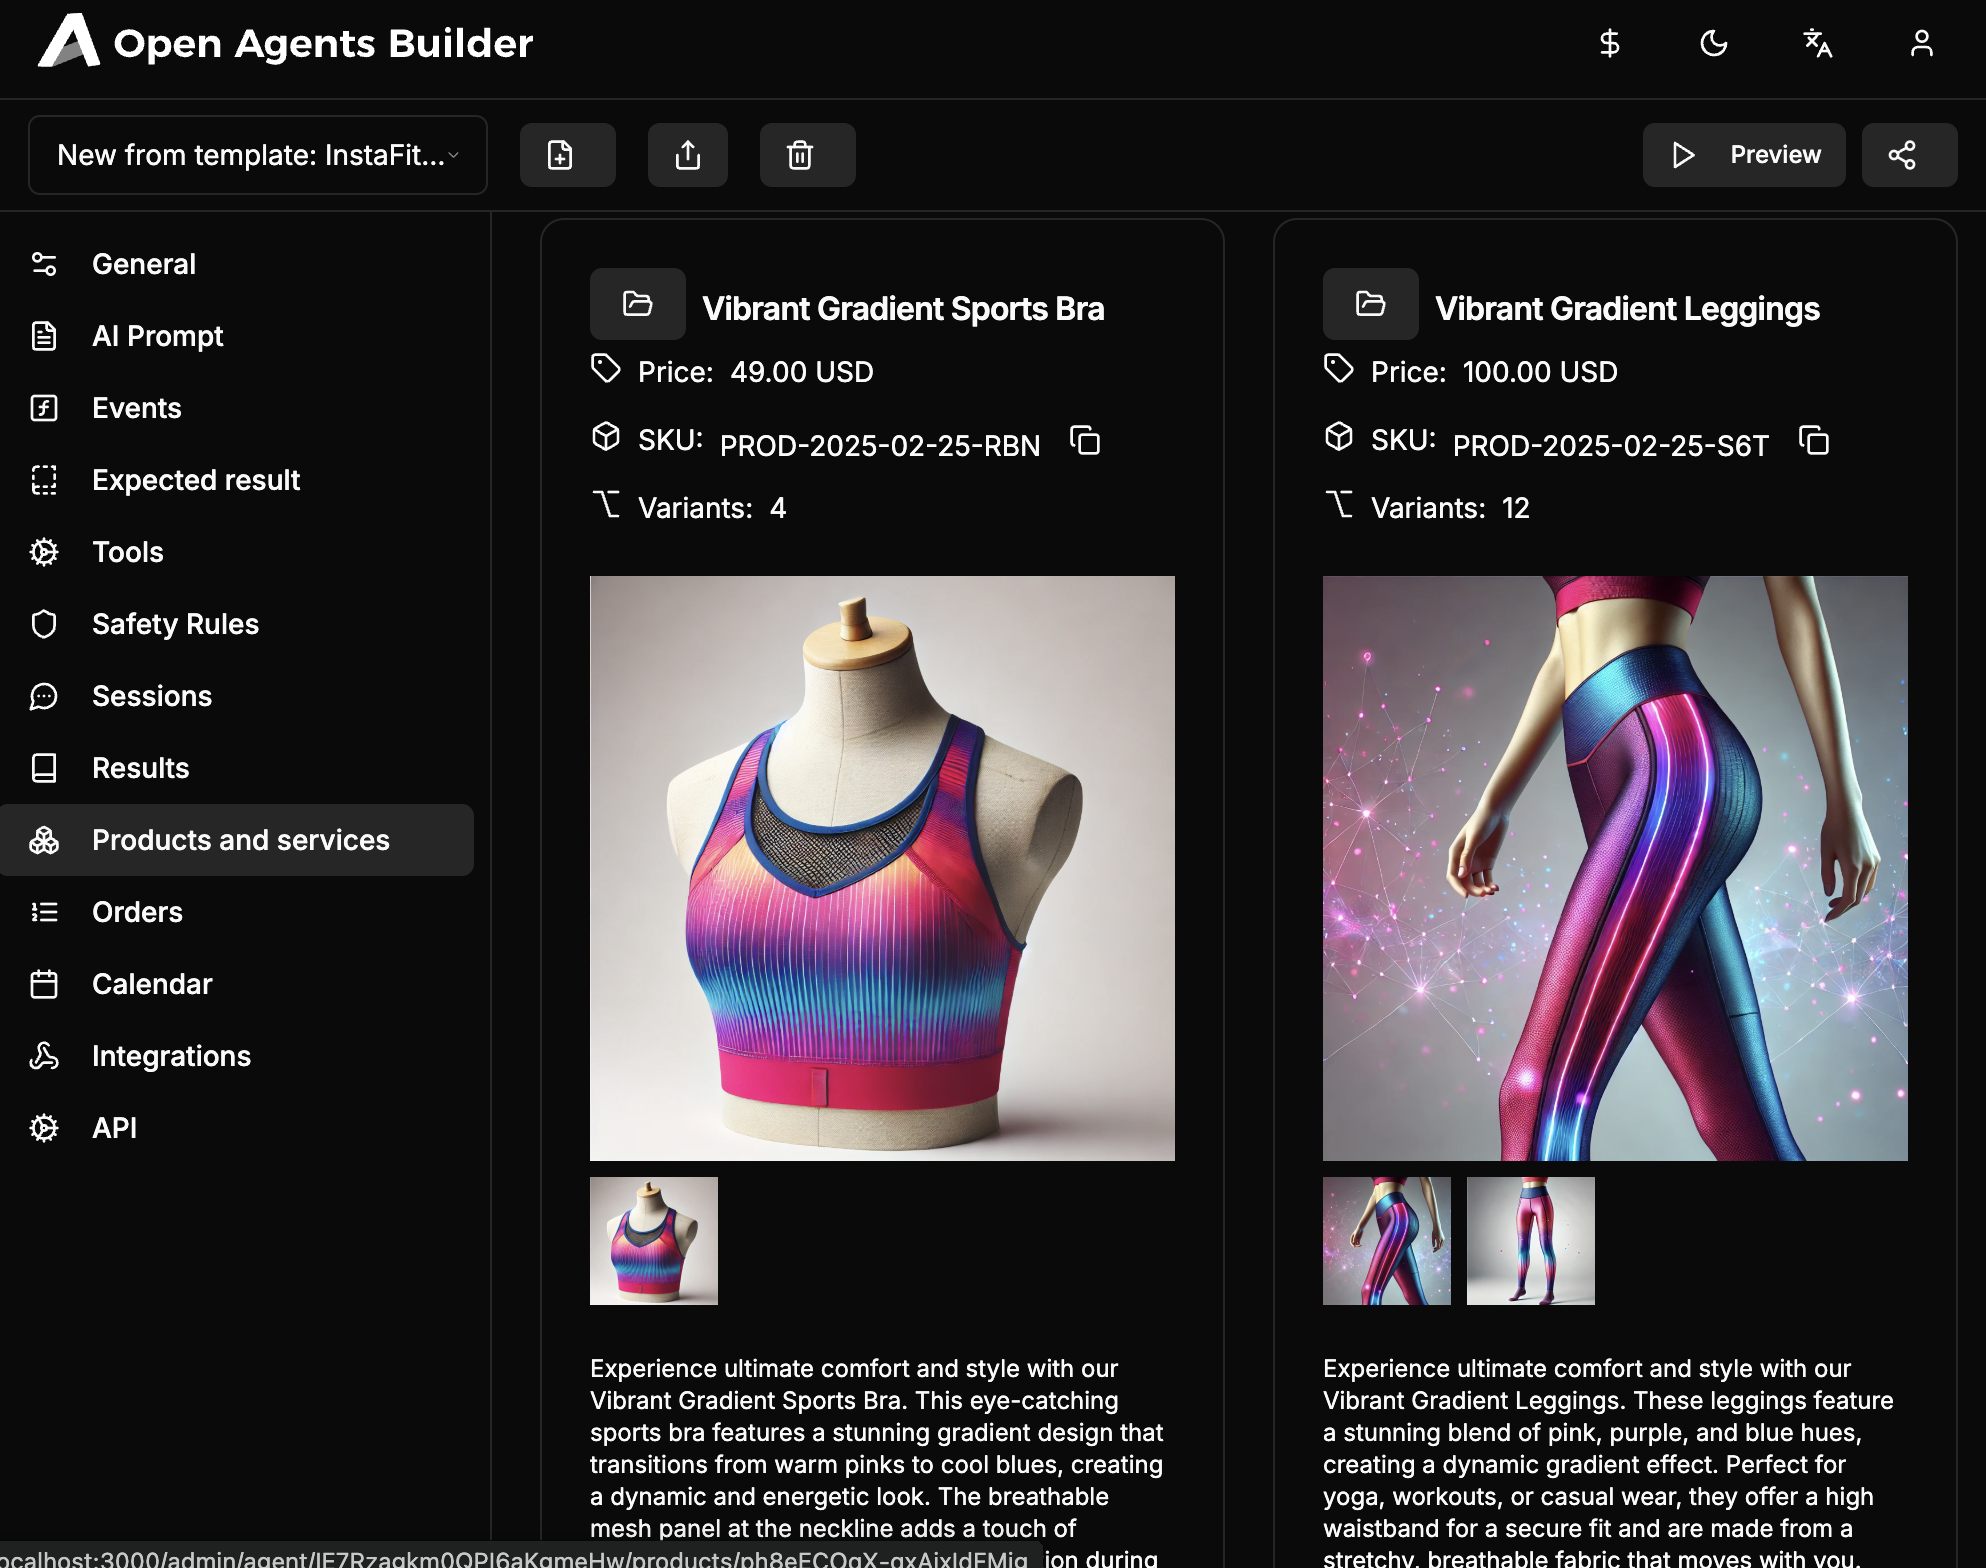
You might wonder where the agent’s product data comes from. It’s stored in the Products and Services tab, where you can add or modify items:
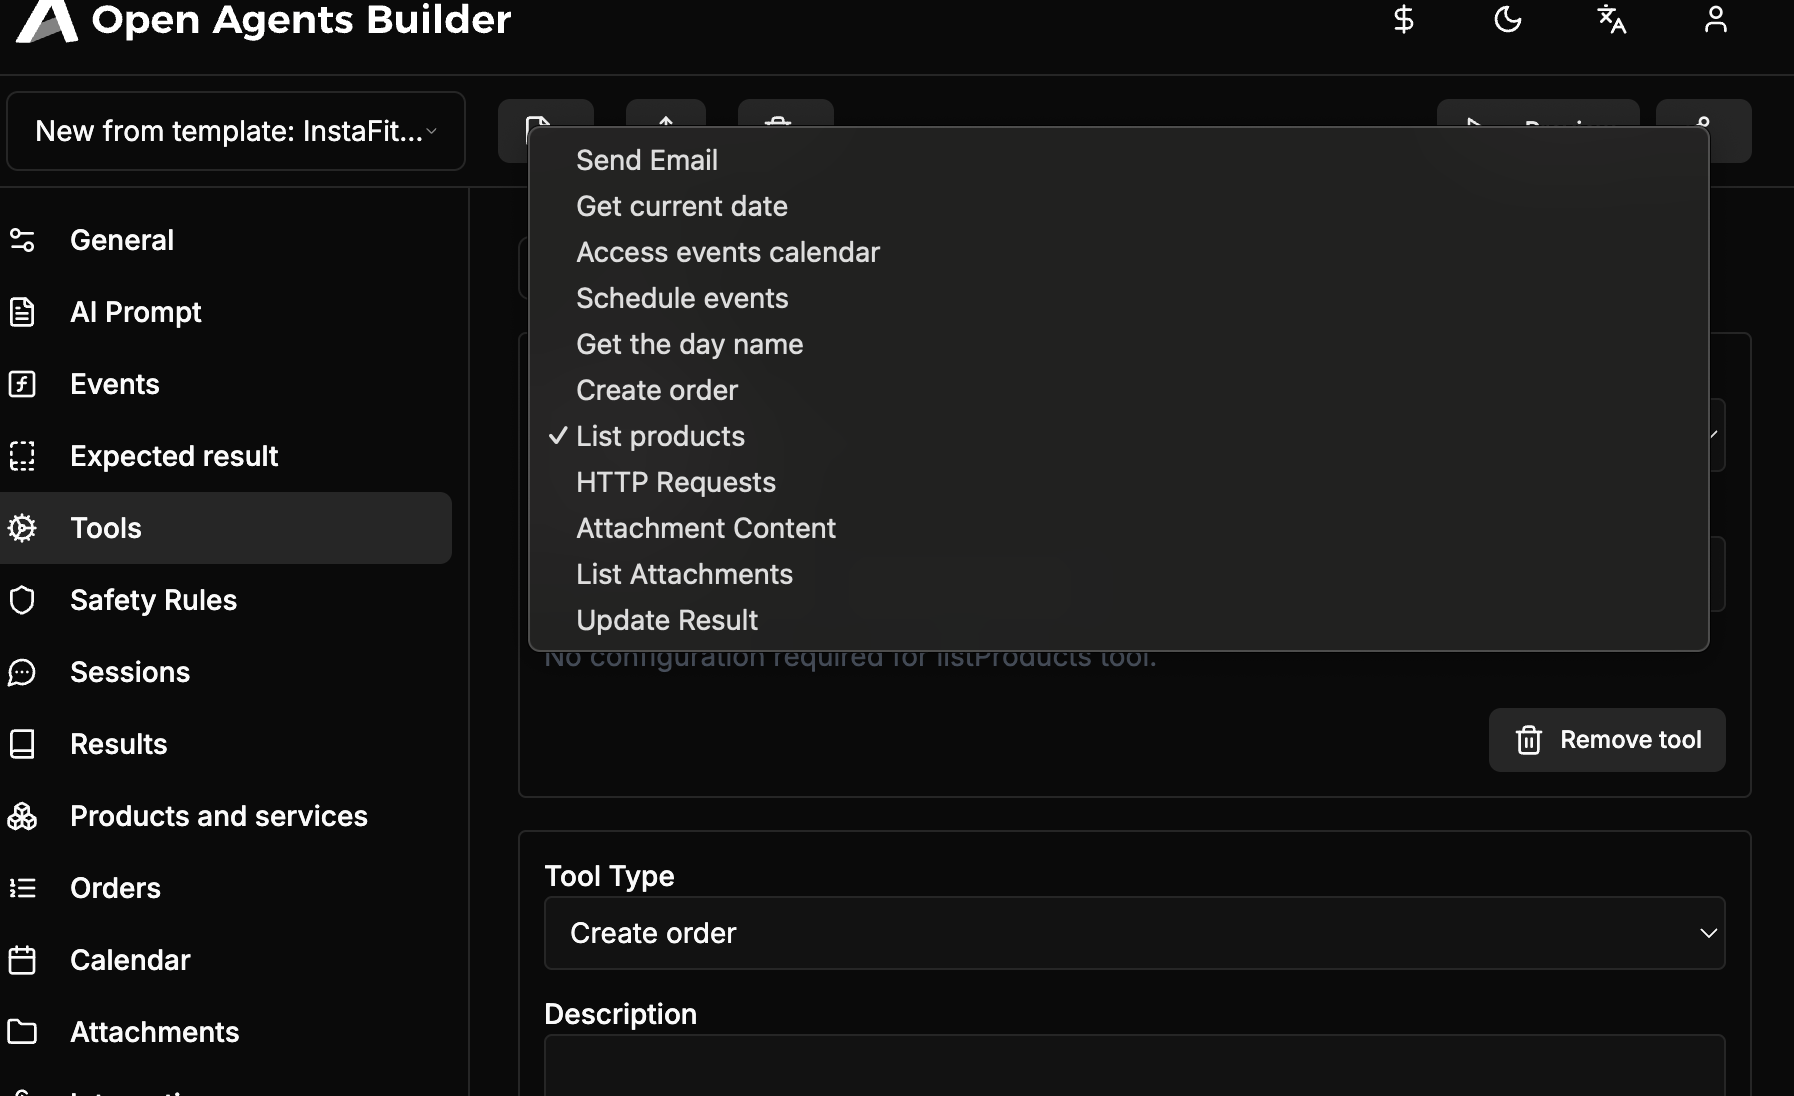
The agent can access this product catalog (and even create orders) because these capabilities are granted in the Tools tab. There, you can enable or disable specific tools and explore other possibilities.
Congratulations!
You’ve created your first agent! Feel free to explore other templates or try building something from scratch with the Blank template. Have fun experimenting and discovering all that Open Agents Builder can do.