Using the Code Execution tool tutorial
Why code execution?
Open Agents Builder can now write, run, and iterate on code in a Docker sandbox. Shell, Node.js, and Python are pre-installed—but you can add Ruby (or anything else) in minutes.
A code-capable agent lets you:
- Query live APIs (GitHub, Stripe, …) without exposing keys to the user.
- Transform user data—convert, clean, visualise.
- Iterate automatically: When the script fails, the LLM inspects the traceback, patches the code, and re-runs it.
Prerequisites
| Requirement | Notes |
|---|---|
| Open Agents Builder account | Sign up for the free trial; takes ~3 min |
| A GitHub repo URL | Any public repo works. We’ll use CatchTheTornado/open-agents-builder in this tutorial. |
| (Optional) Local install | Clone the project & run it locally if you want to watch container logs in real-time |
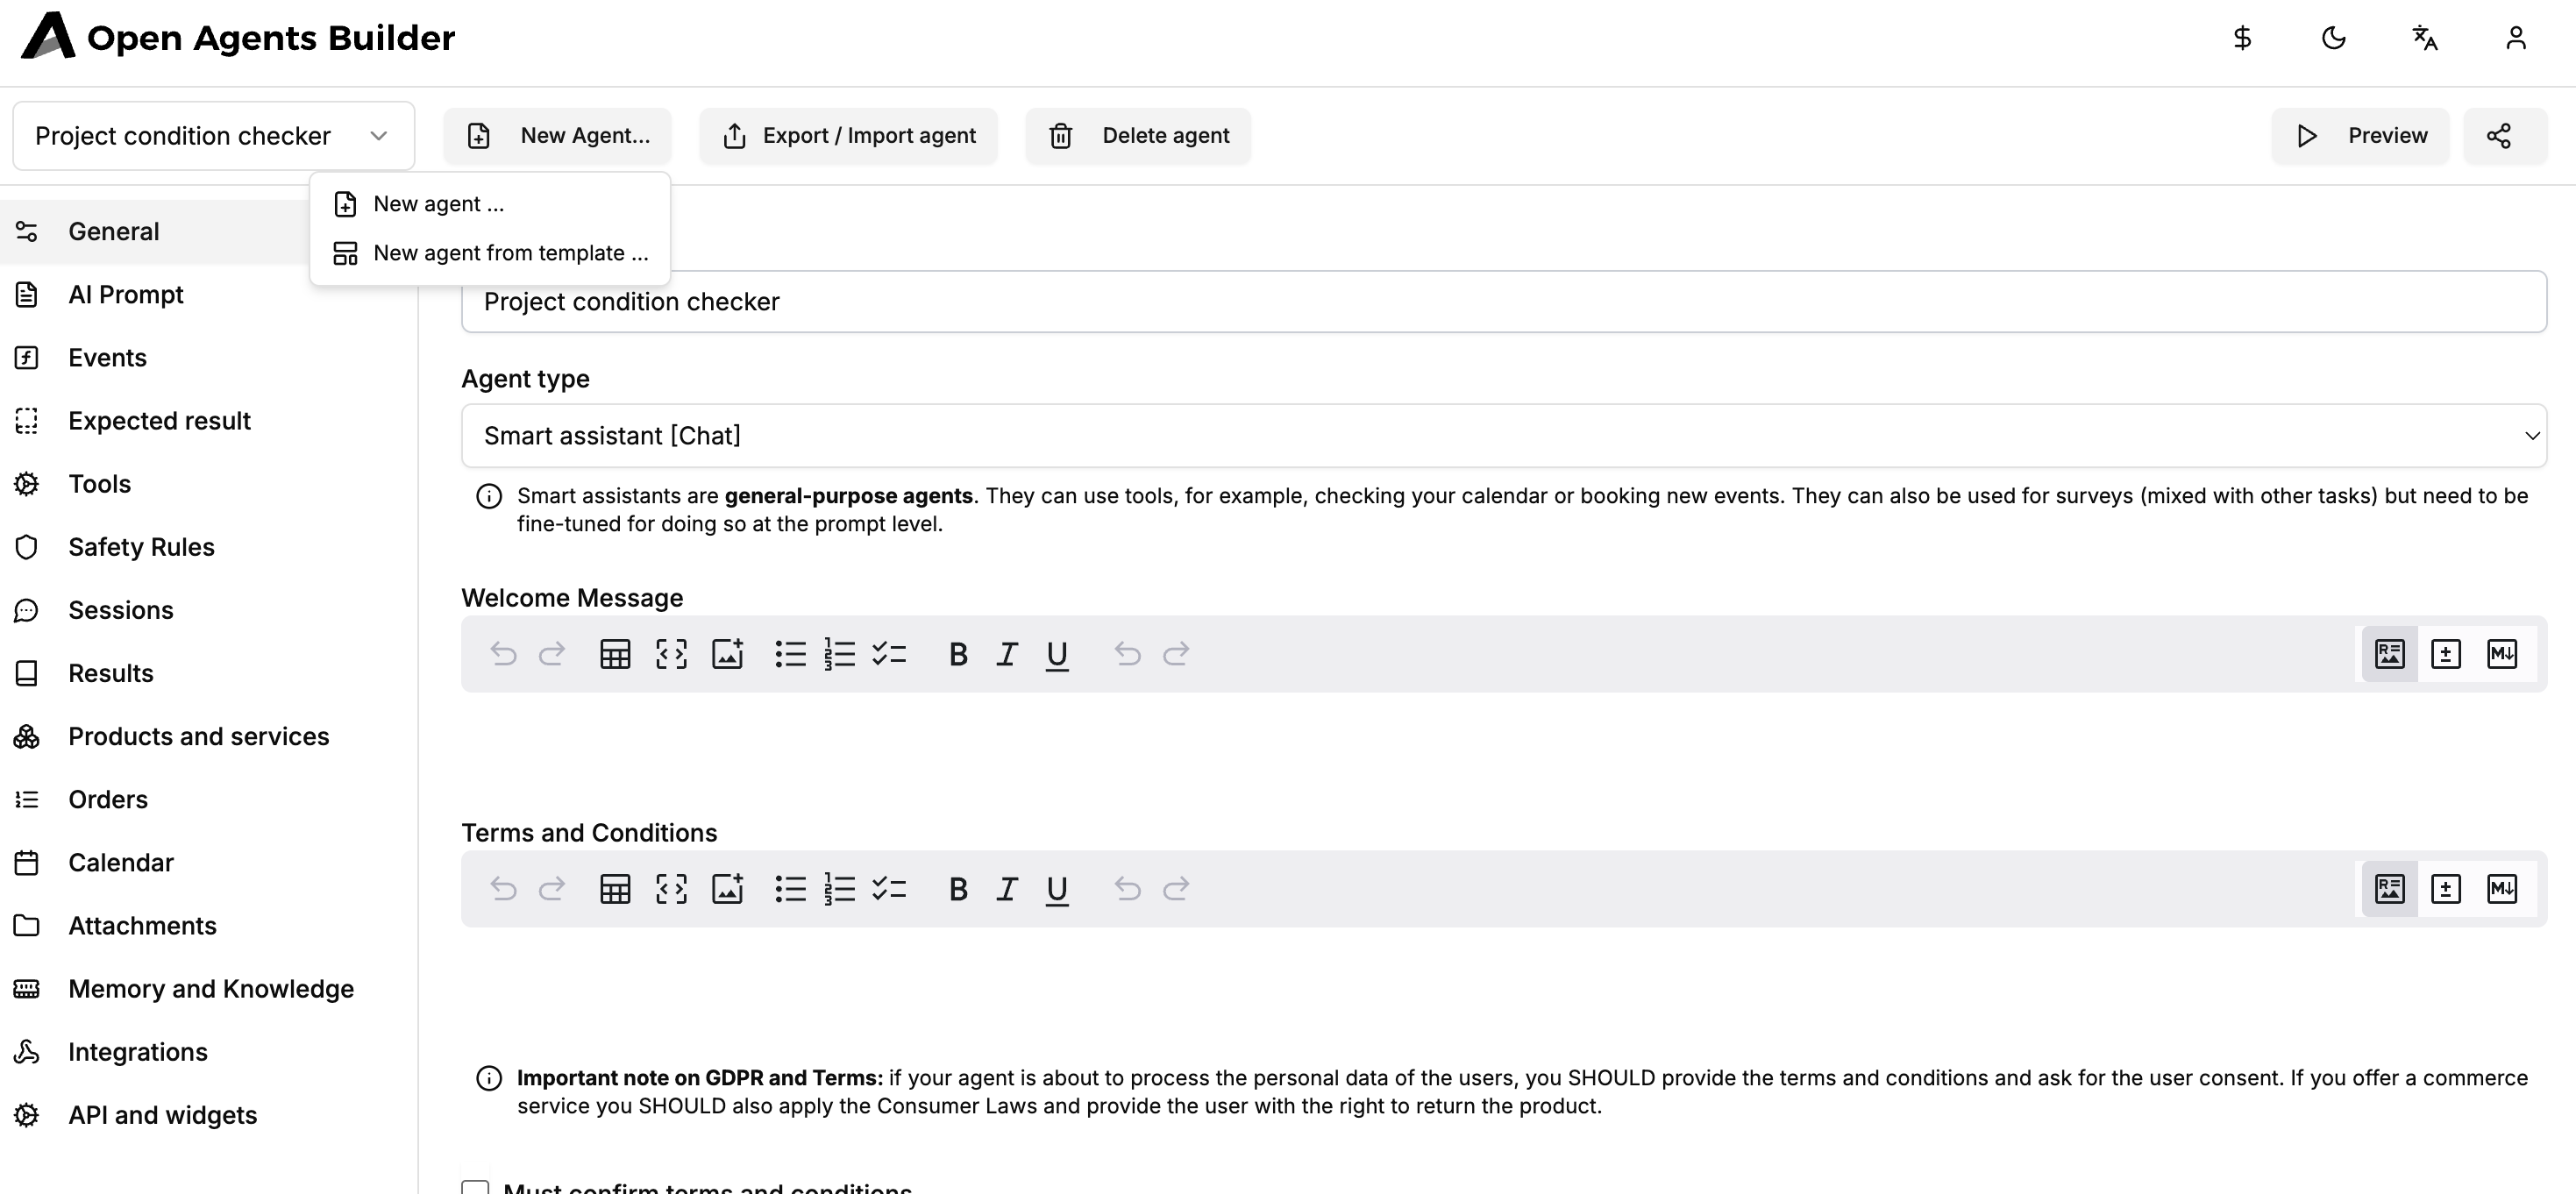
Creating a new agent
-
Dashboard → “New Agent…”
-
Name it →
Project condition checker. -
Keep Agent type = Smart assistant [Chat].
Writing the system prompt
In AI Prompt tab:
You're a smart, open-source-savvy agent that can help users check their GitHub projects.You can use the code execution tool to fulfil user requests.Welcome the user and ask them for the GitHub project URL.Generate a document with a summary of the last two issues and a general overview.Generate a PNG diagram with the stargazers' history.Screenshot for reference:

Tip Keep prompts declarative: describe the workflow & deliverables—let the LLM decide how.
Enabling the Code Execution tool
-
Go to Tools → Add Tool → choose Code Execution.

-
No extra config is needed—hit Save.
Under the hood the agent now spins up a disposable Docker container and uses the open-source code-interpreter-tool library to run scripts, capture output, and return any generated files.
Previewing & test-driving your agent
-
Click Preview.
-
The agent greets you and asks for a repo URL. Paste
https://github.com/CatchTheTornado/open-agents-builder. -
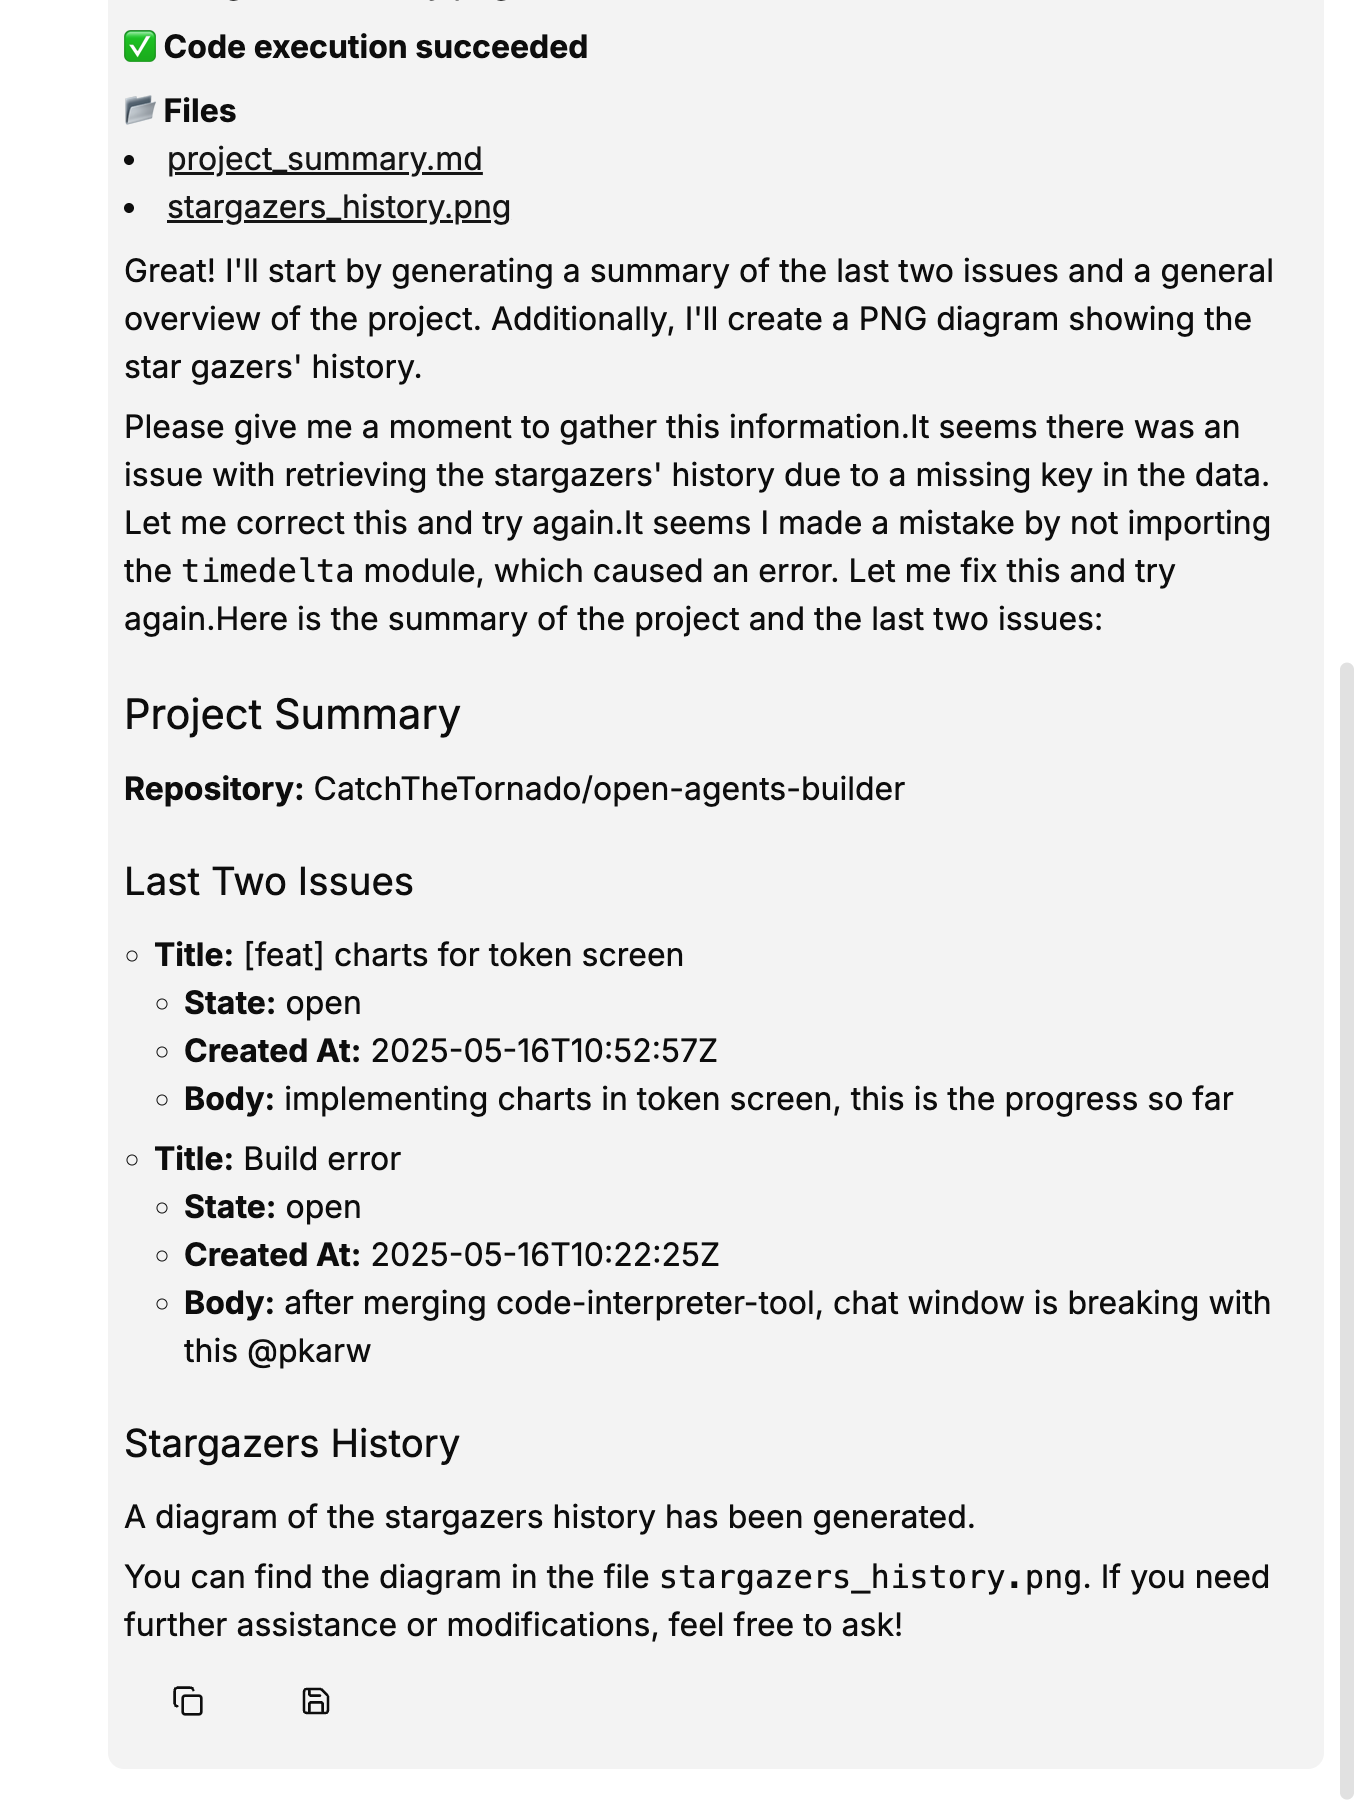
Watch the magic ✨
-
The LLM writes a Python script to hit the GitHub API.
-
If a run fails, it parses the traceback, patches the code, and retries (subtitles 00:03:37-00:03:59).
-
When succeeded, it uploads two files:
File Purpose project_summary.mdIssues overview & repo stats stargazers_history.pngAuto-generated Matplotlib chart
Example chat view:
-
Heads-up You’ll see
Code executed with errors…lines if the first attempt fails—this is expected. The agent will fix & re-run automatically.
Handling generated files
Every chat session stores artefacts in Sessions → select a session → file list appears on the right.
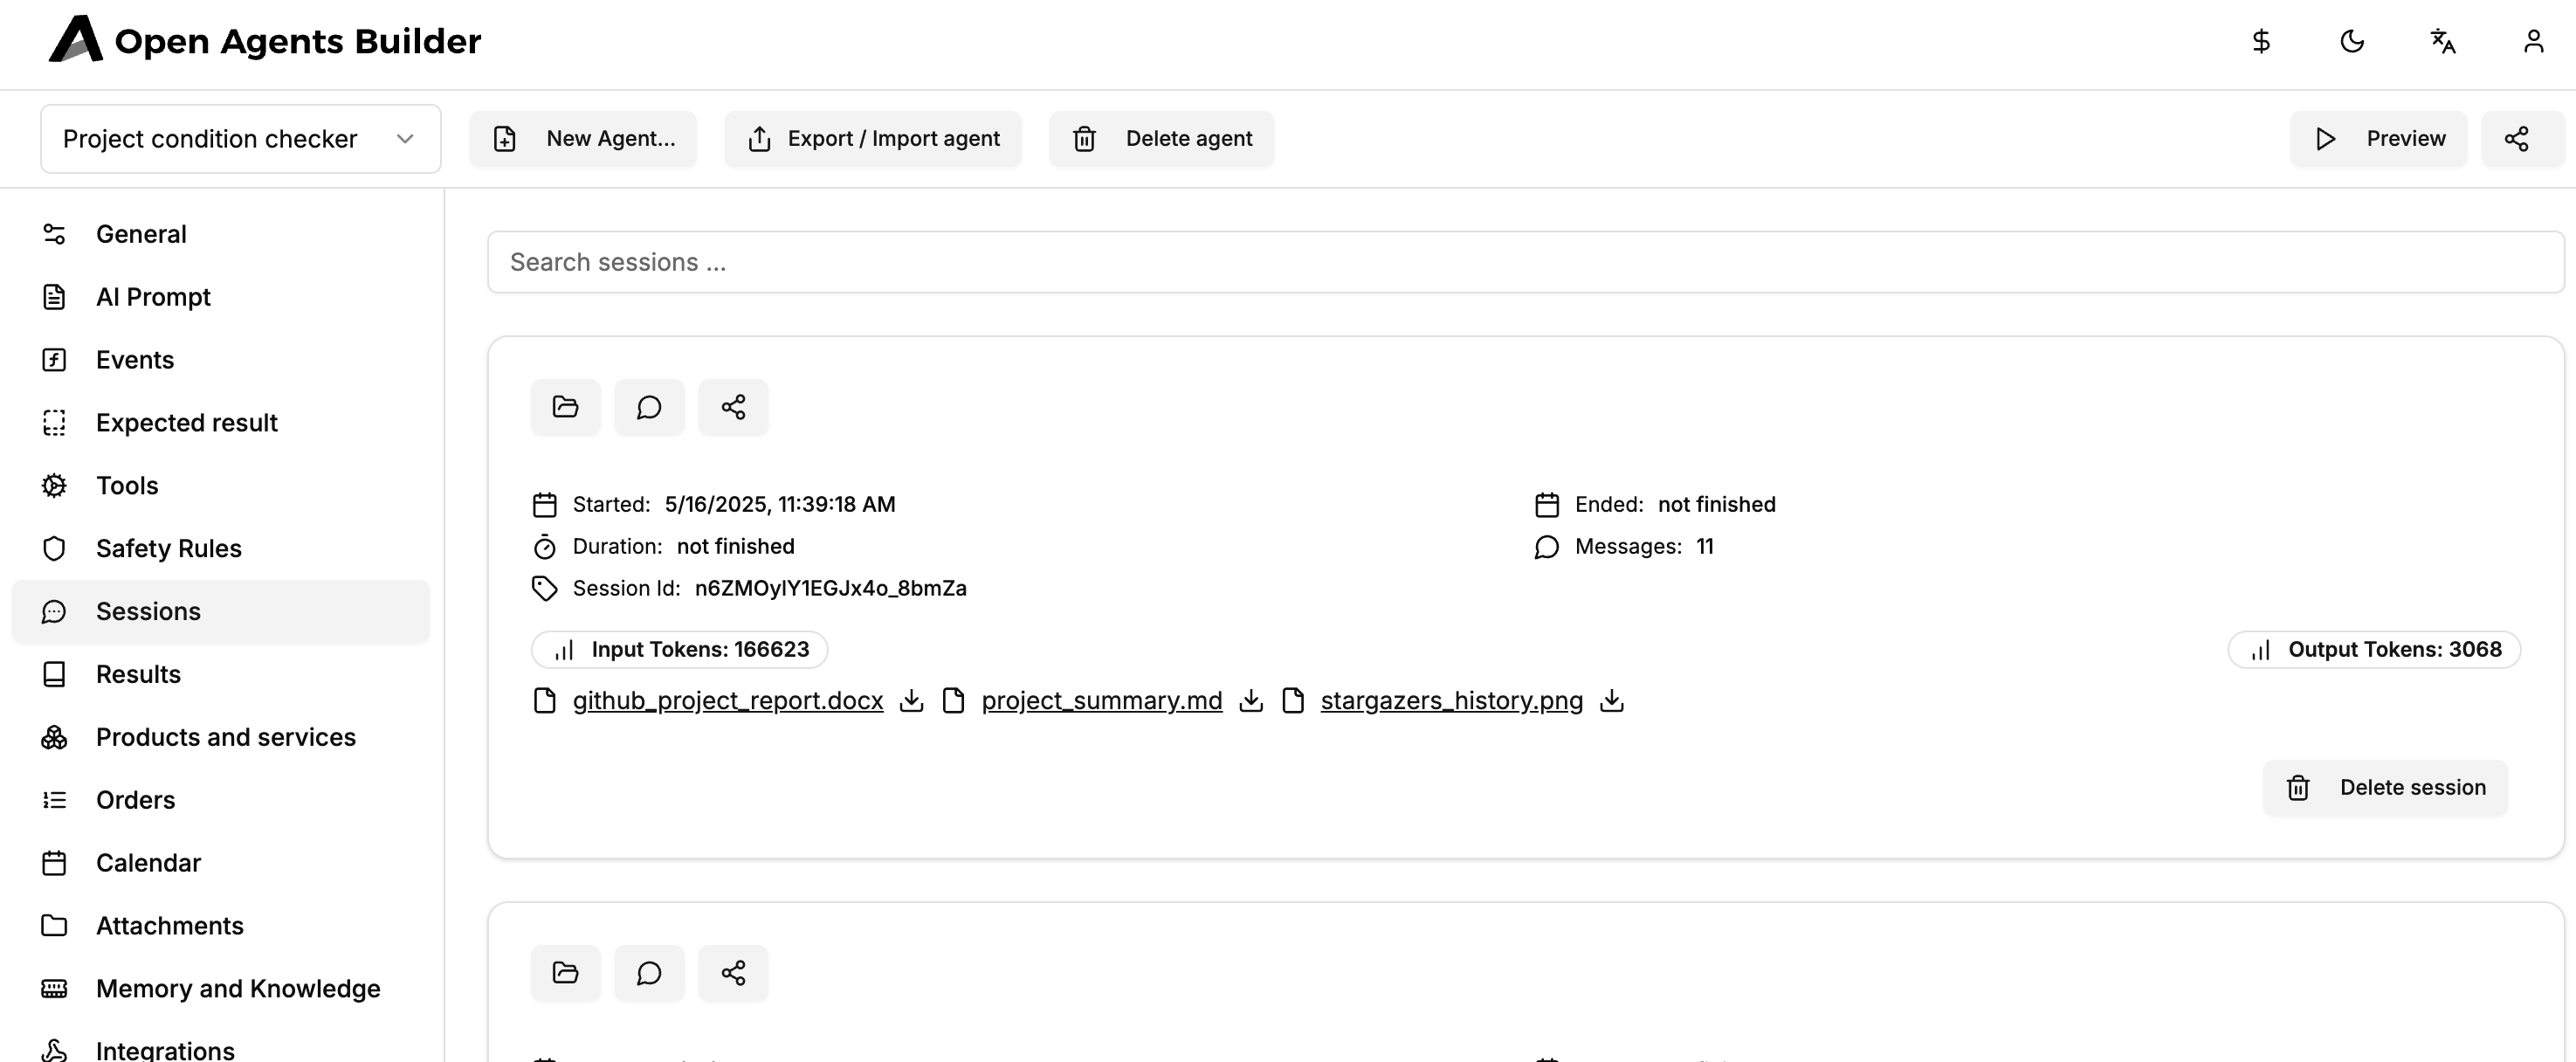
Click ⬇️ to download, or reference them in follow-up prompts, e.g.:
Can you create a .docx that combines the summary and the chart?The agent will:
- Import
python-docx(or install it on the fly). - Embed the PNG and markdown content.
- Return
github_project_report.docx.
Going further
- Add other languages: extend the Docker image or mount a custom one.
- Chain tools: enrich with a Browser tool to fetch web pages, or Automations to send scheduled reports.
- Safety: define rate limits and guardrails in the Safety Rules tab.
- Template it: when your agent is stable, click “Save agent as template” to share.
Conclusion
You now have a fully-featured GitHub analyst powered by live code execution—no backend coding required. Experiment with different prompts, outputs (PDF, CSV, PowerPoint…), and data sources. The only limit is your imagination.
Happy hacking! 🛠️🧑💻