Building Workflow based agent - describing products from pictures
🛠️ What you’ll build
A Workflow (API) agent that:
- accepts a product photo from the user,
- lets a sub-agent describe the item in natural language, and
- returns a ready-to-run Shopify GraphQL
productCreatecurl command you can paste into a terminal (or call programmatically) to add the product to your store.
The whole process takes 5–10 minutes and zero custom code.
1. Create the Workflow agent
| Step | Action | Where |
|---|---|---|
| 1 | Log in to openagentsbuilder.com (a free trial is enough). | – |
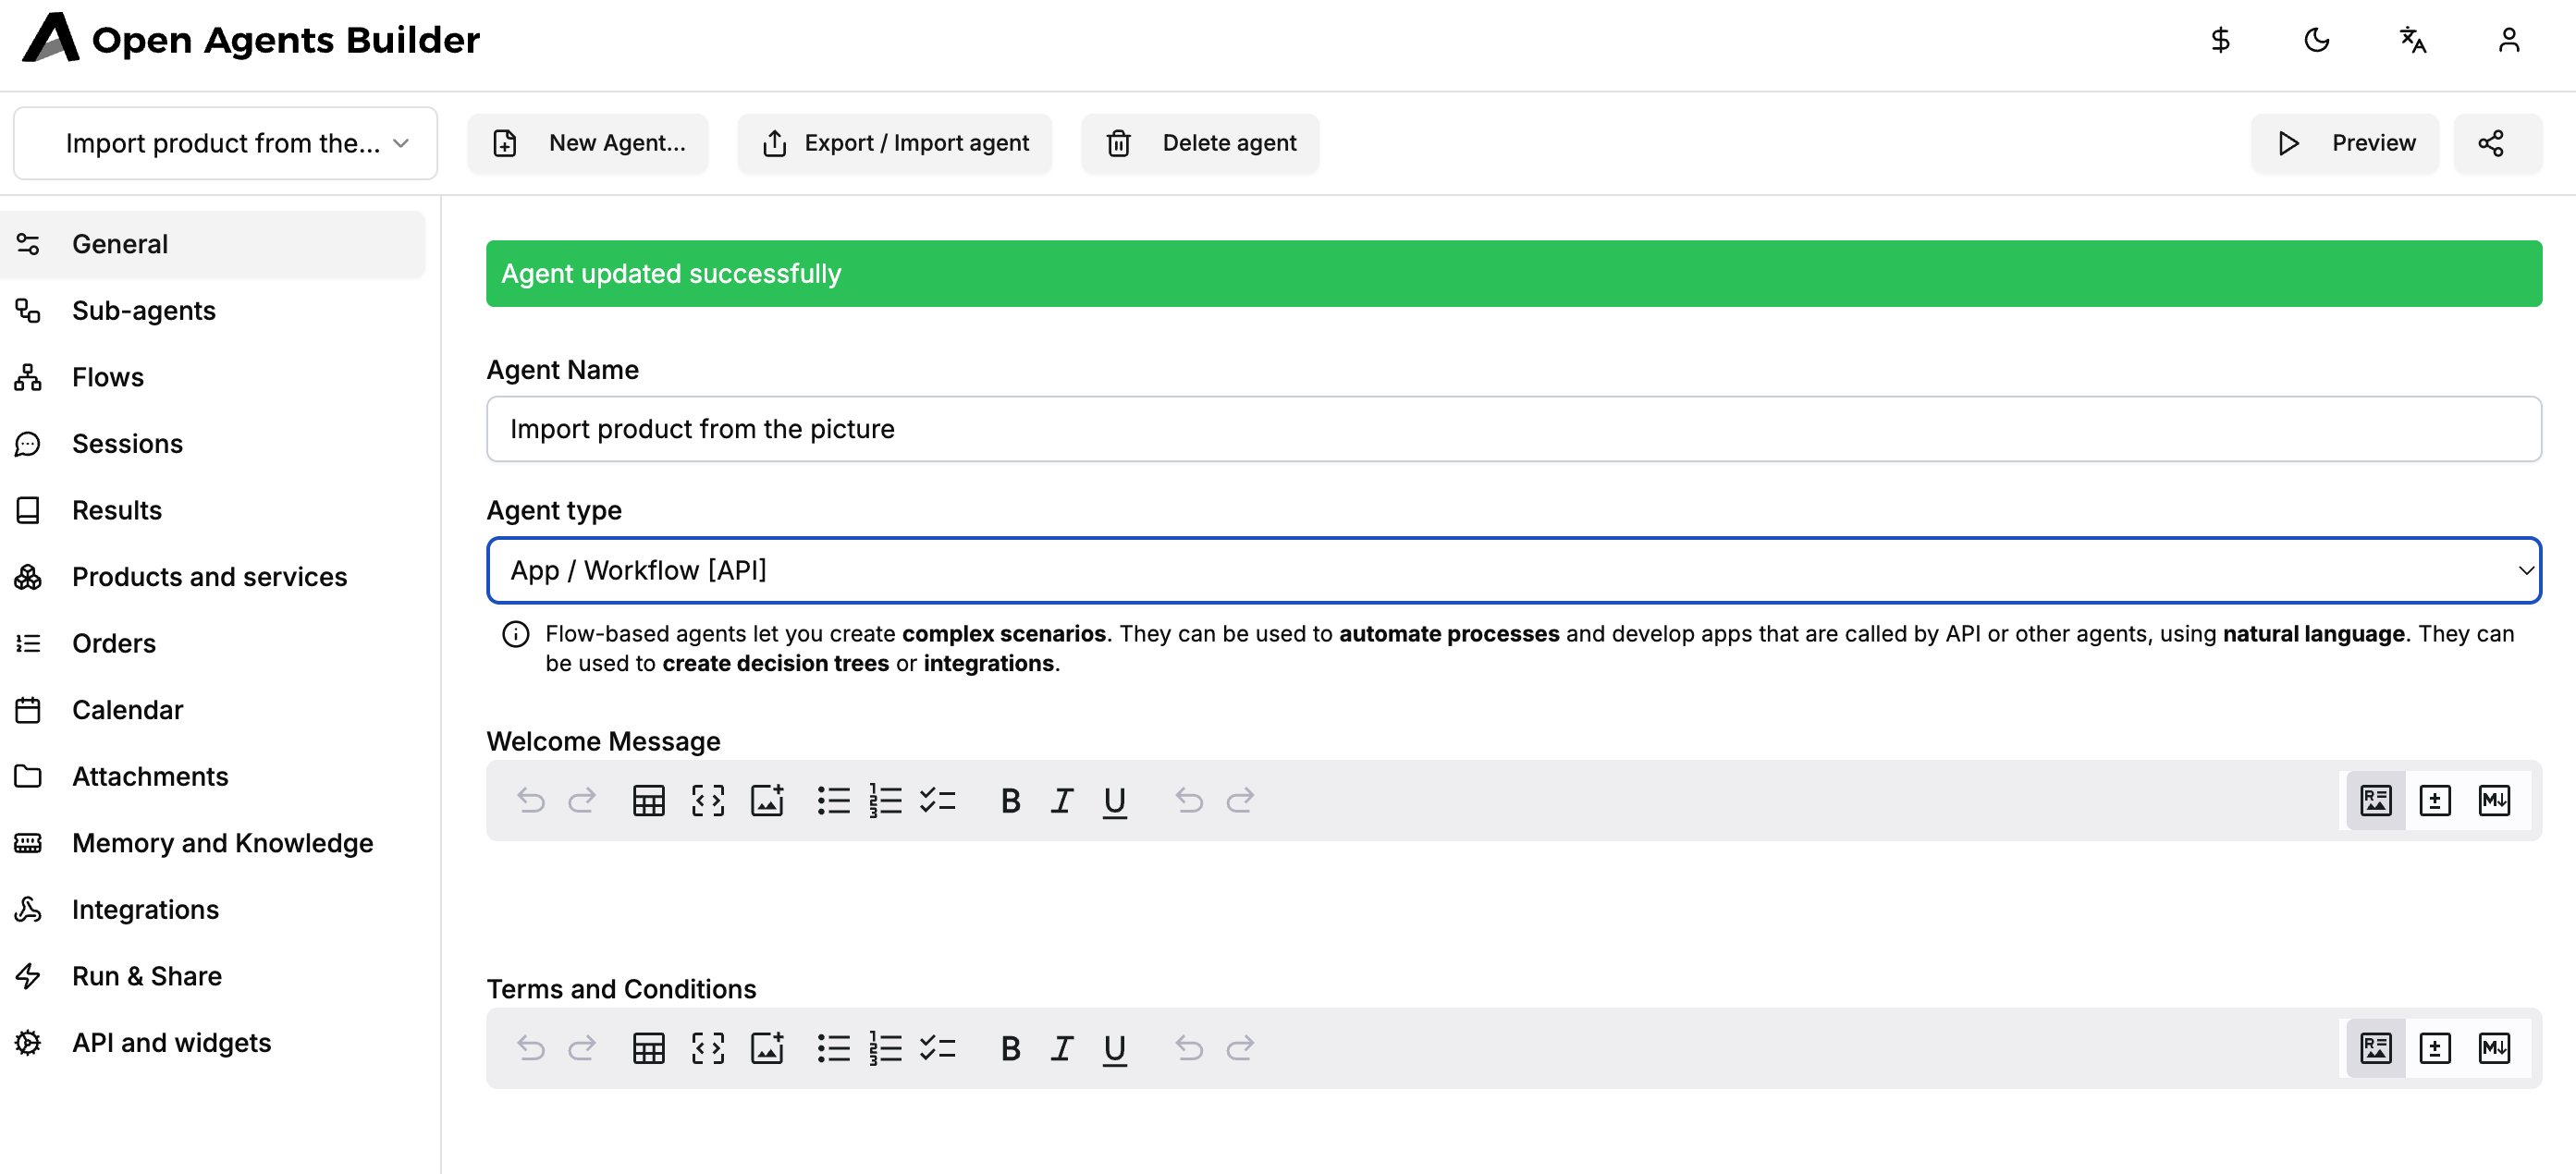
| 2 | Press New Agent… in the header. | Top bar |
| 3 | Give it a name, e.g. “Import product from the picture”. | General → Agent Name |
| 4 | Change Agent type to App / Workflow [API]. | General section |
| 5 | Click Save. | Bottom left |
Why a Workflow agent?
Chat agents expose a conversational endpoint; Workflow agents expose flows that you can:
• run in a lightweight UI you can share with anyone, or
• call from any backend over HTTPS.
###. 2 Add a sub-agent that “understands” images
- Go to Sub-agents ➜ Add agent….
- Name it “Photo descriptor”.
- Leave the model as gpt-4o (or whichever model you prefer).
- Paste a short System prompt – e.g.:
You're great at extracting the features of a product from a pictureand generating structured descriptions.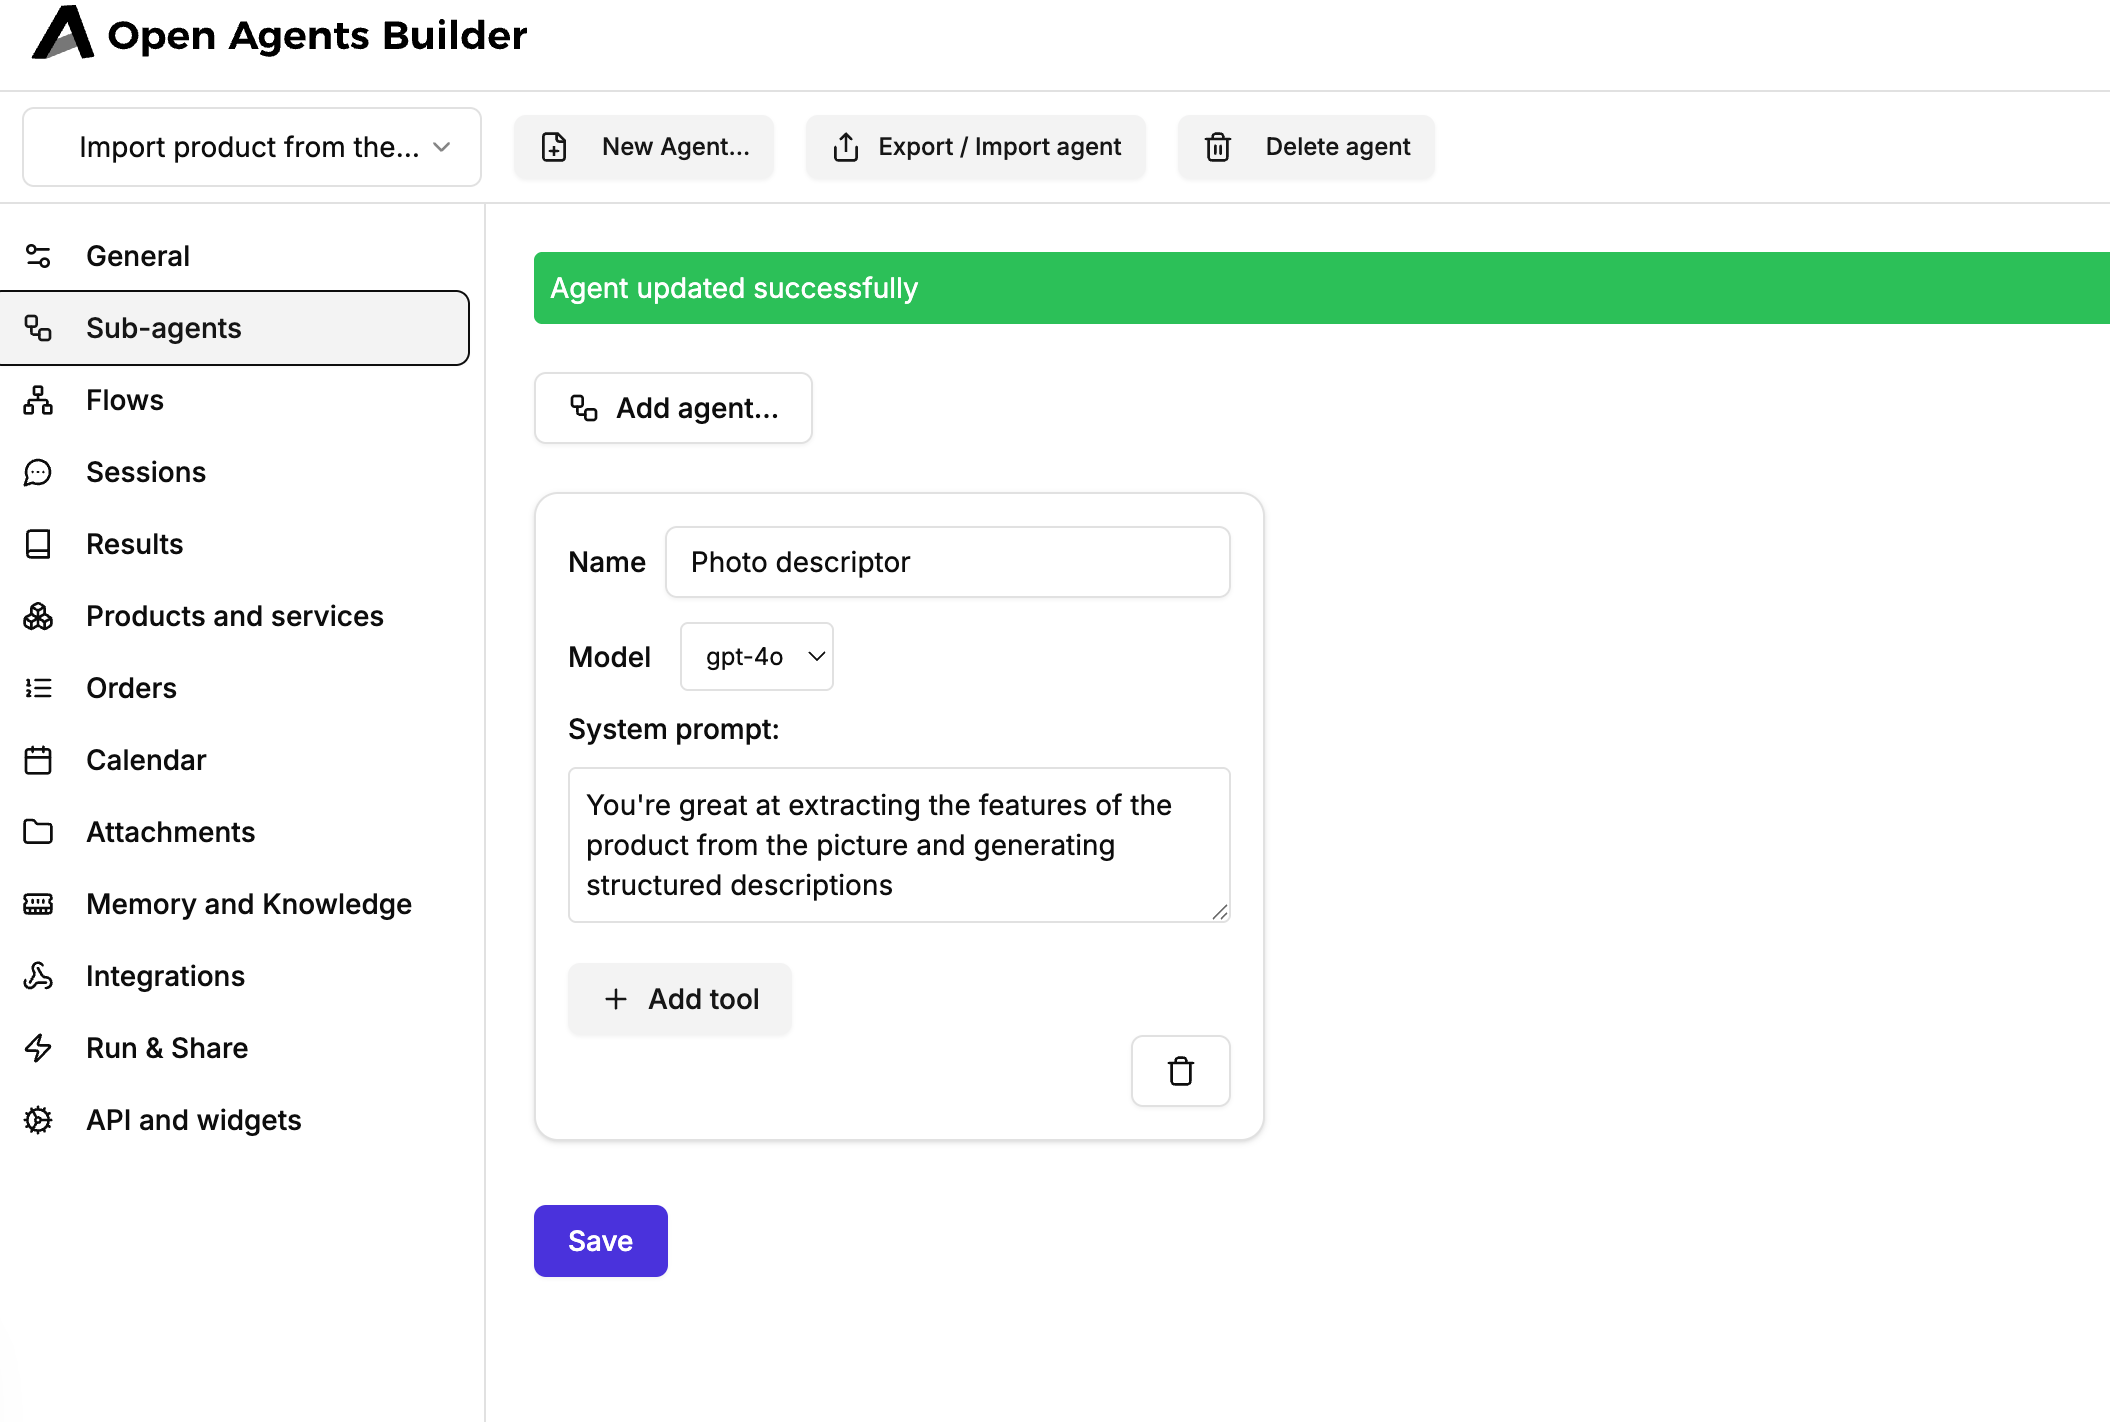
- Save.
No extra tools are needed here because the only job is to convert an image into text + a GraphQL snippet. If you later want the agent to hit the Shopify API directly, you could add an “HTTP request” tool.
3. Design the flow
3.1. Create the flow shell
- Open Flows ➜ Add flow.
- Name it Describe product – set the Flow code to
describe-product(this string becomes part of the API URL). - Save to reveal the flow designer.
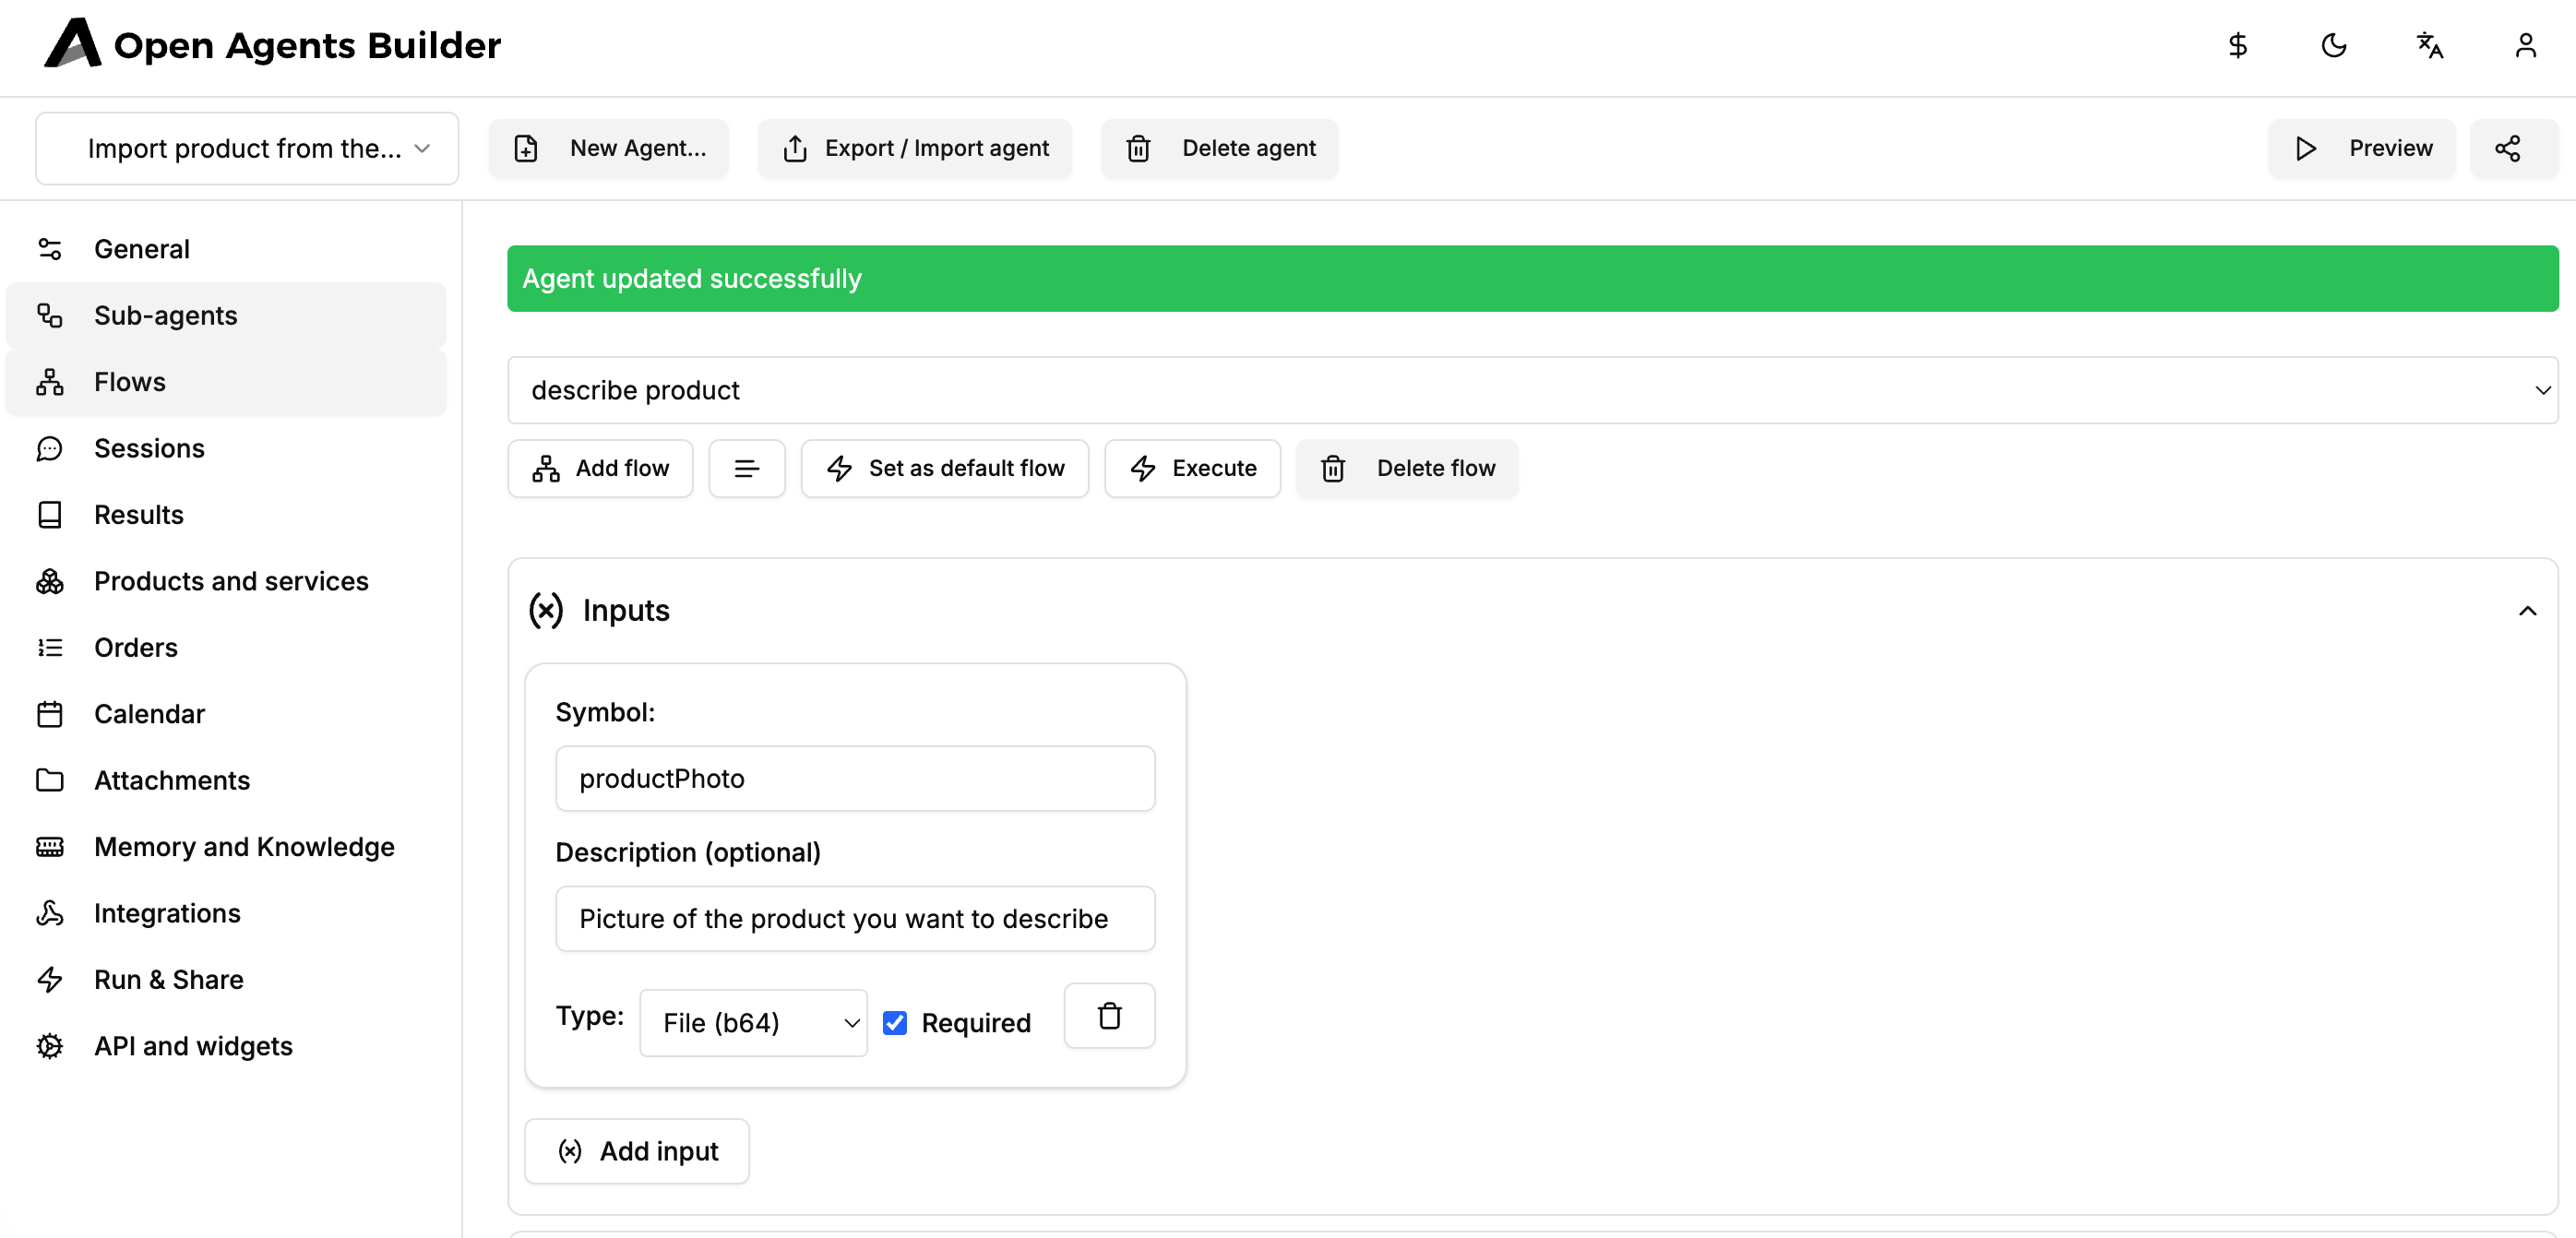
3.2. Define inputs
- In the Inputs accordion press Add input.
- Fill in:
| Field | Value |
|---|---|
| Symbol | productPhoto |
| Description | Picture of the product you want to describe |
| Type | File (b64) |
| Required | ✓ |
That single input is all the UI the end-user will see.
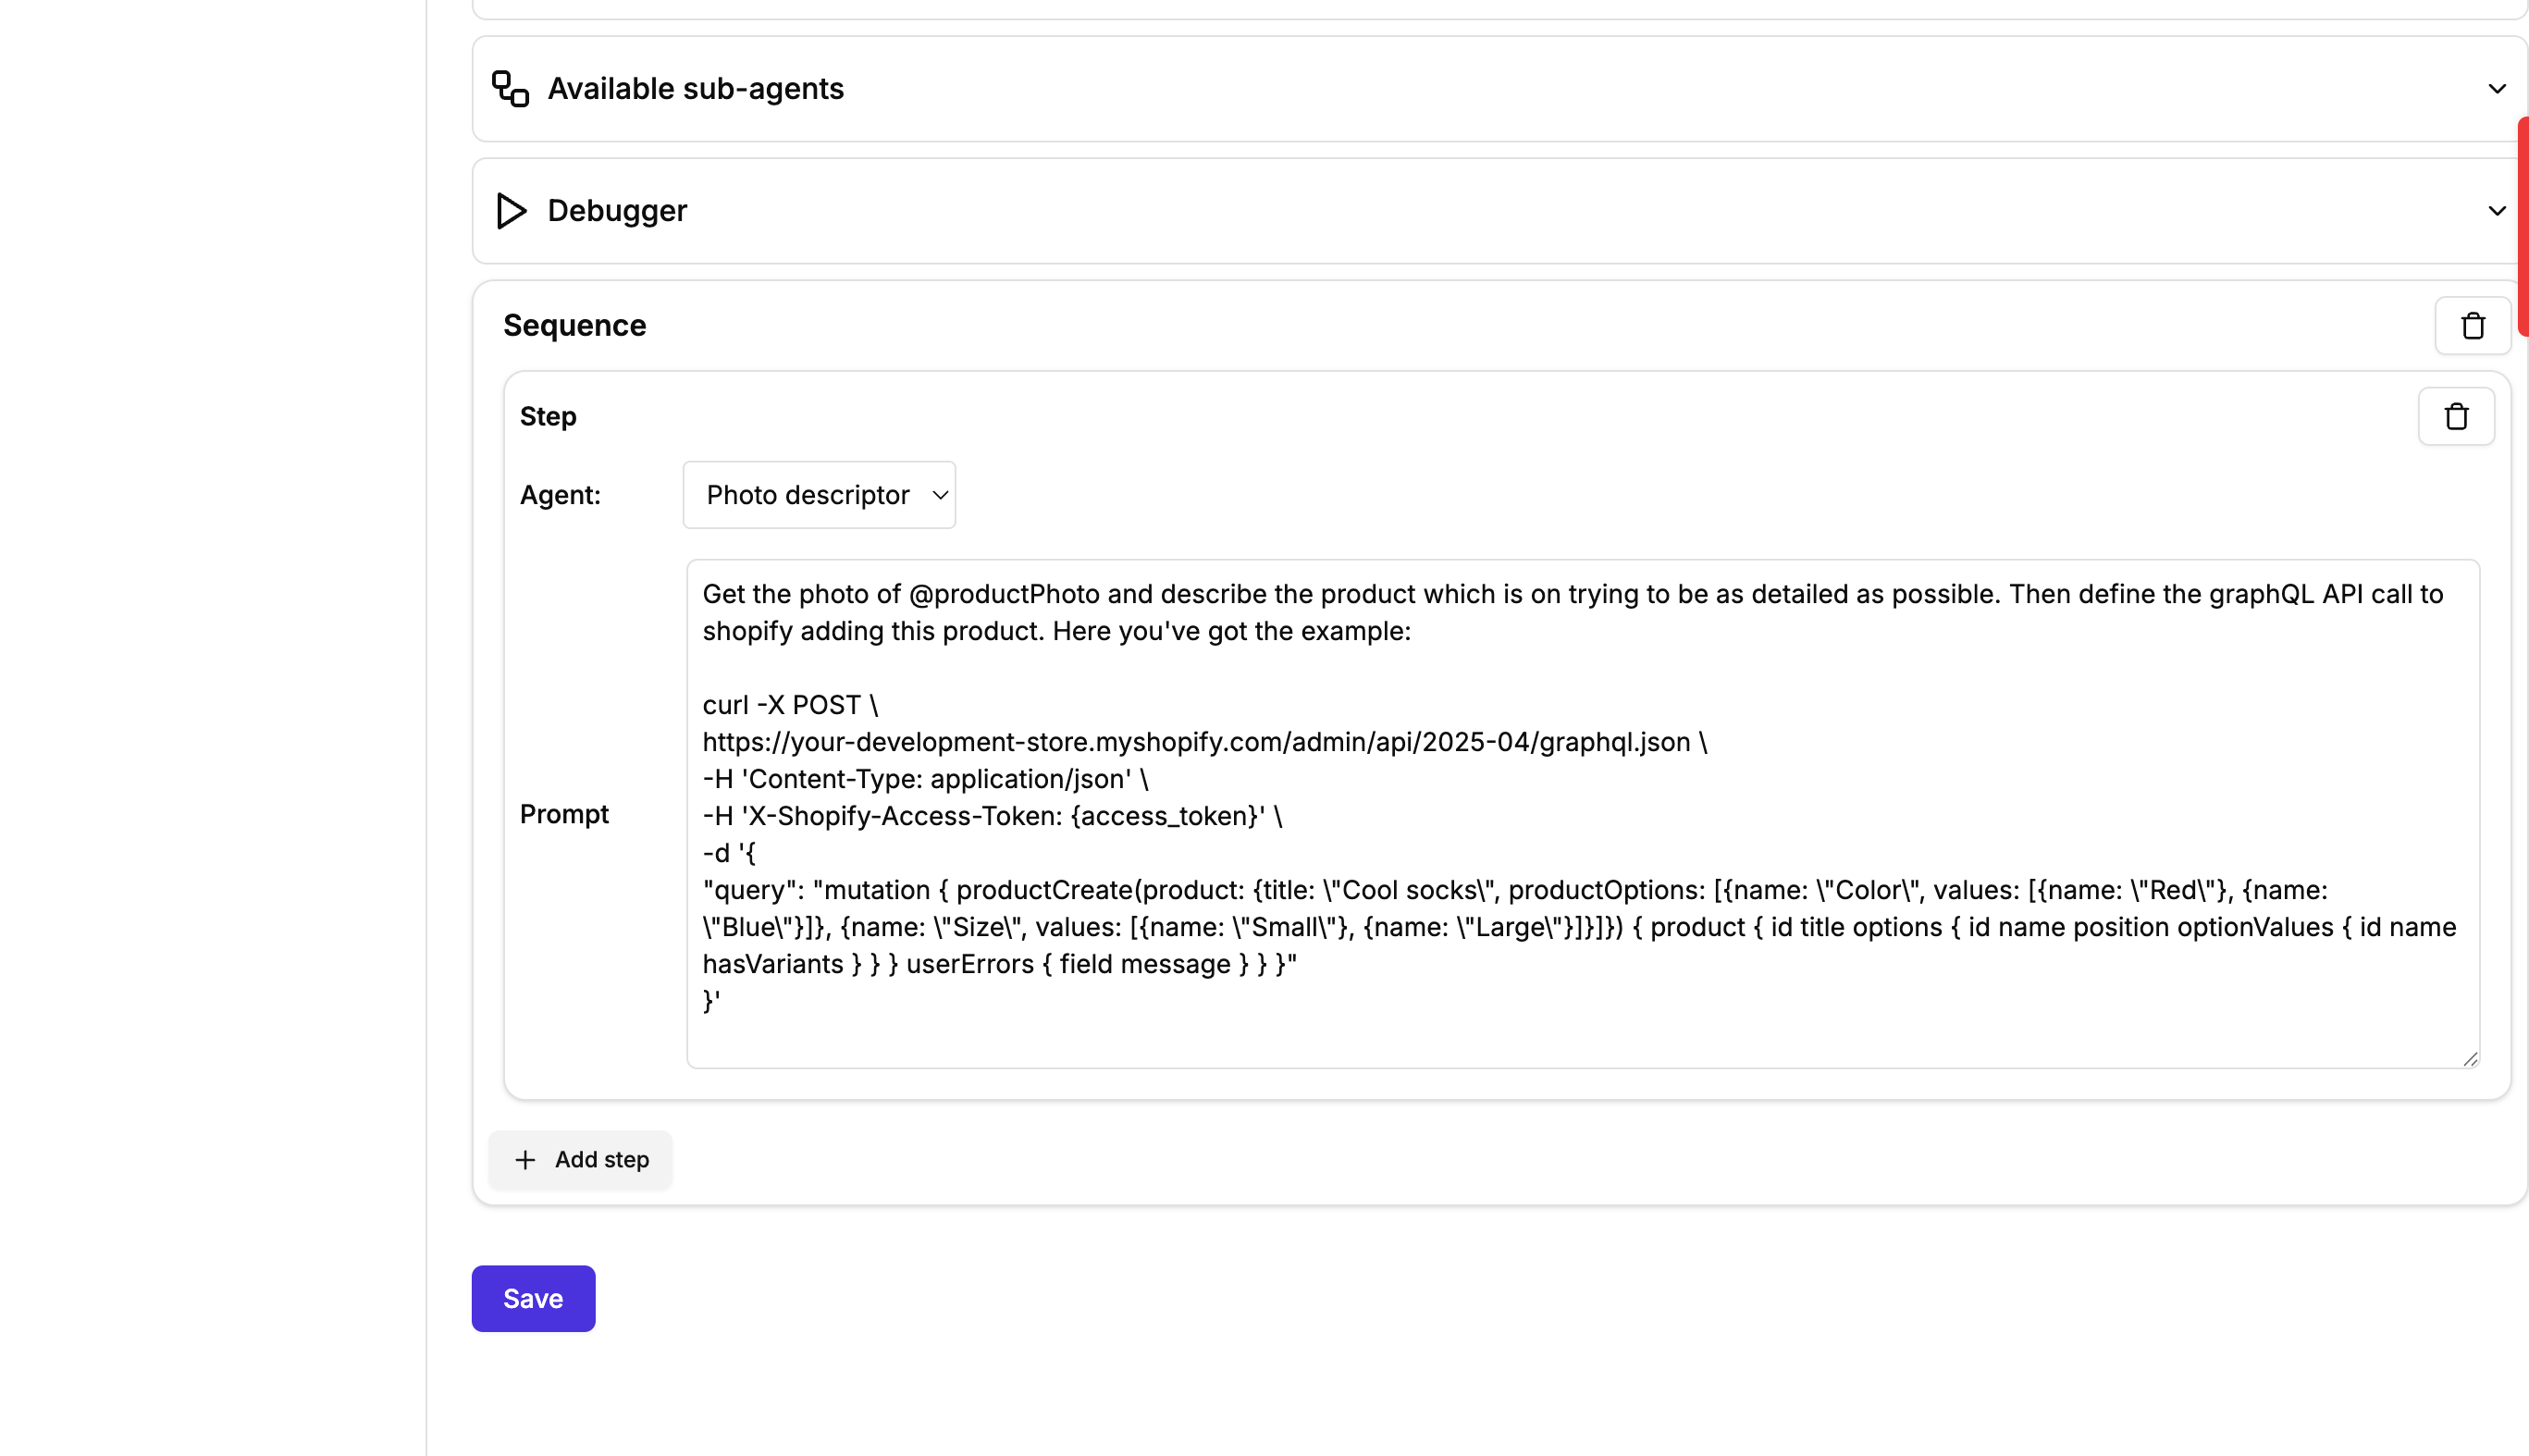
3.3. Build the sequence (one simple step)
- In Sequence click Add step.
- Choose Agent → Photo descriptor.
- Paste the prompt below (notice the
@productPhotovariable reference – type @ to autocomplete):
Get the photo @productPhoto and:
1. Write a detailed yet concise **Product Description** in plain English.2. Directly underneath, produce a **GraphQL API call to Shopify** that creates this product, including two option sets:   • Color (infer values from the image)   • Size  (Small, Medium, Large)
Use the exact curl format below as a template, replacing the title and option values.
curl -X POST \https://your-development-store.myshopify.com/admin/api/2025-04/graphql.json \-H 'Content-Type: application/json' \-H 'X-Shopify-Access-Token: {access_token}' \-d '{ "query": "mutation { productCreate(product: {title: \"Cool socks\", productOptions: [{name: \"Color\", values: [{name: \"Red\"}, {name: \"Blue\"}]}, {name: \"Size\", values: [{name: \"Small\"}, {name: \"Medium\"}, {name: \"Large\"}]}]) { product { id title } userErrors { field message } } }"}'- Save the flow and then the agent.
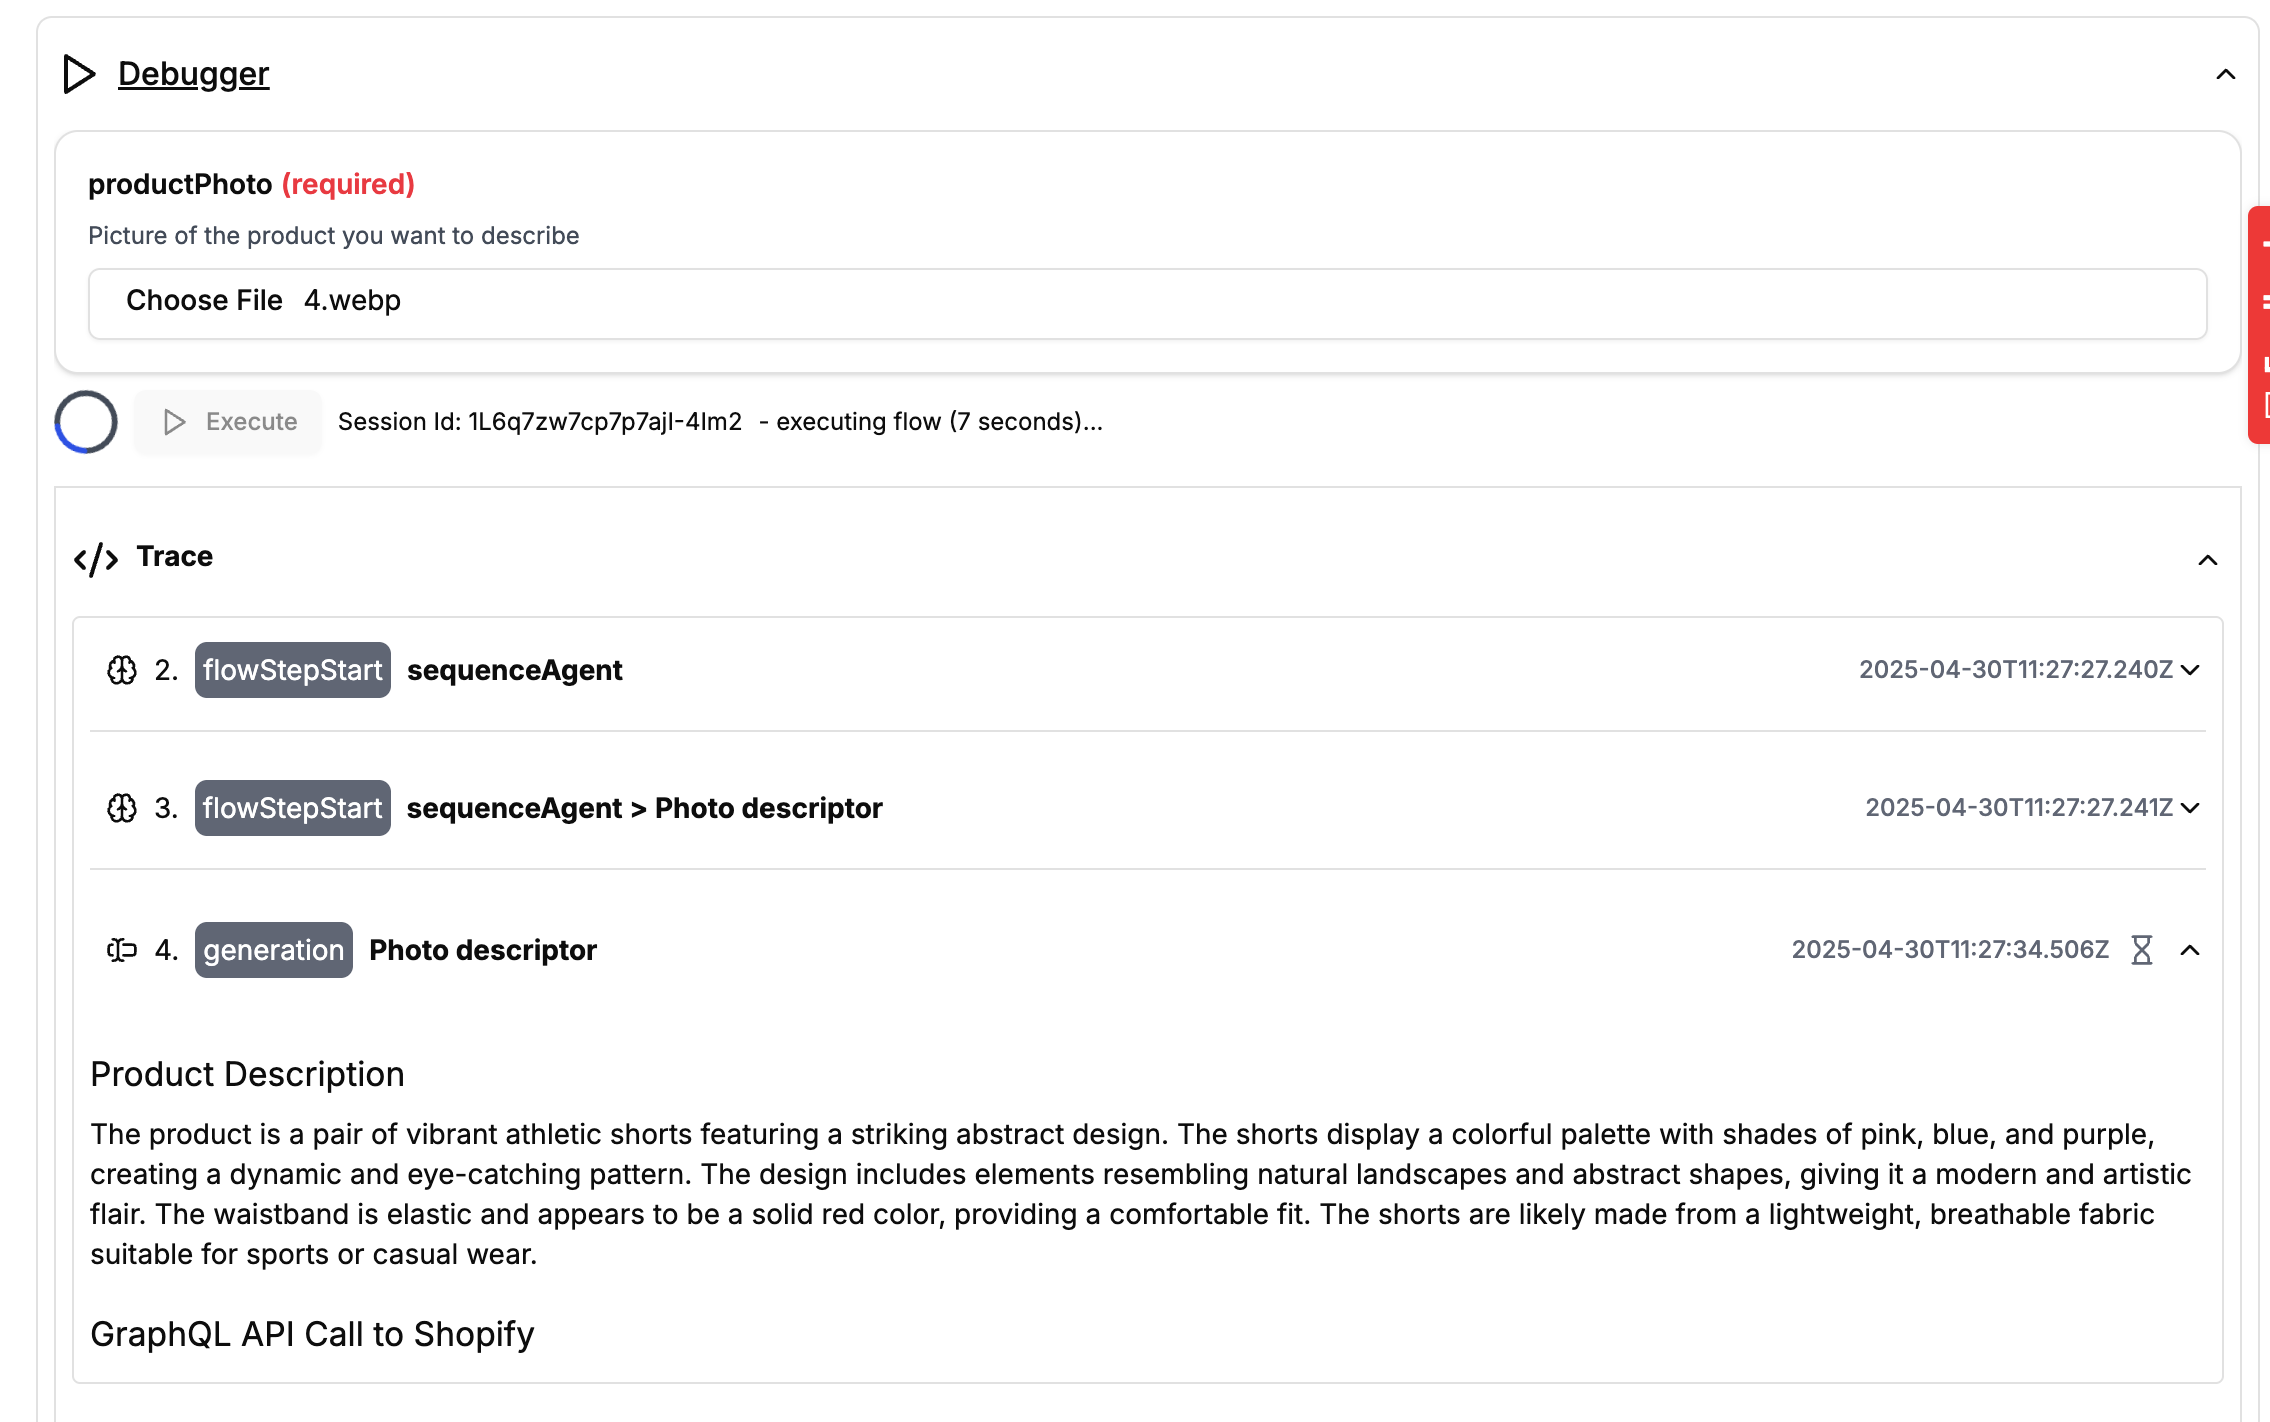
4. Test in the built-in debugger
- Open the Debugger tab.
- Upload any product image (PNG/JPG/WebP).
- Click Execute.
The Trace panel shows each step:
sequenceAgent→Photo descriptor(generation)
The final message contains your product description and a ready-made curl command with the correct title and option values.
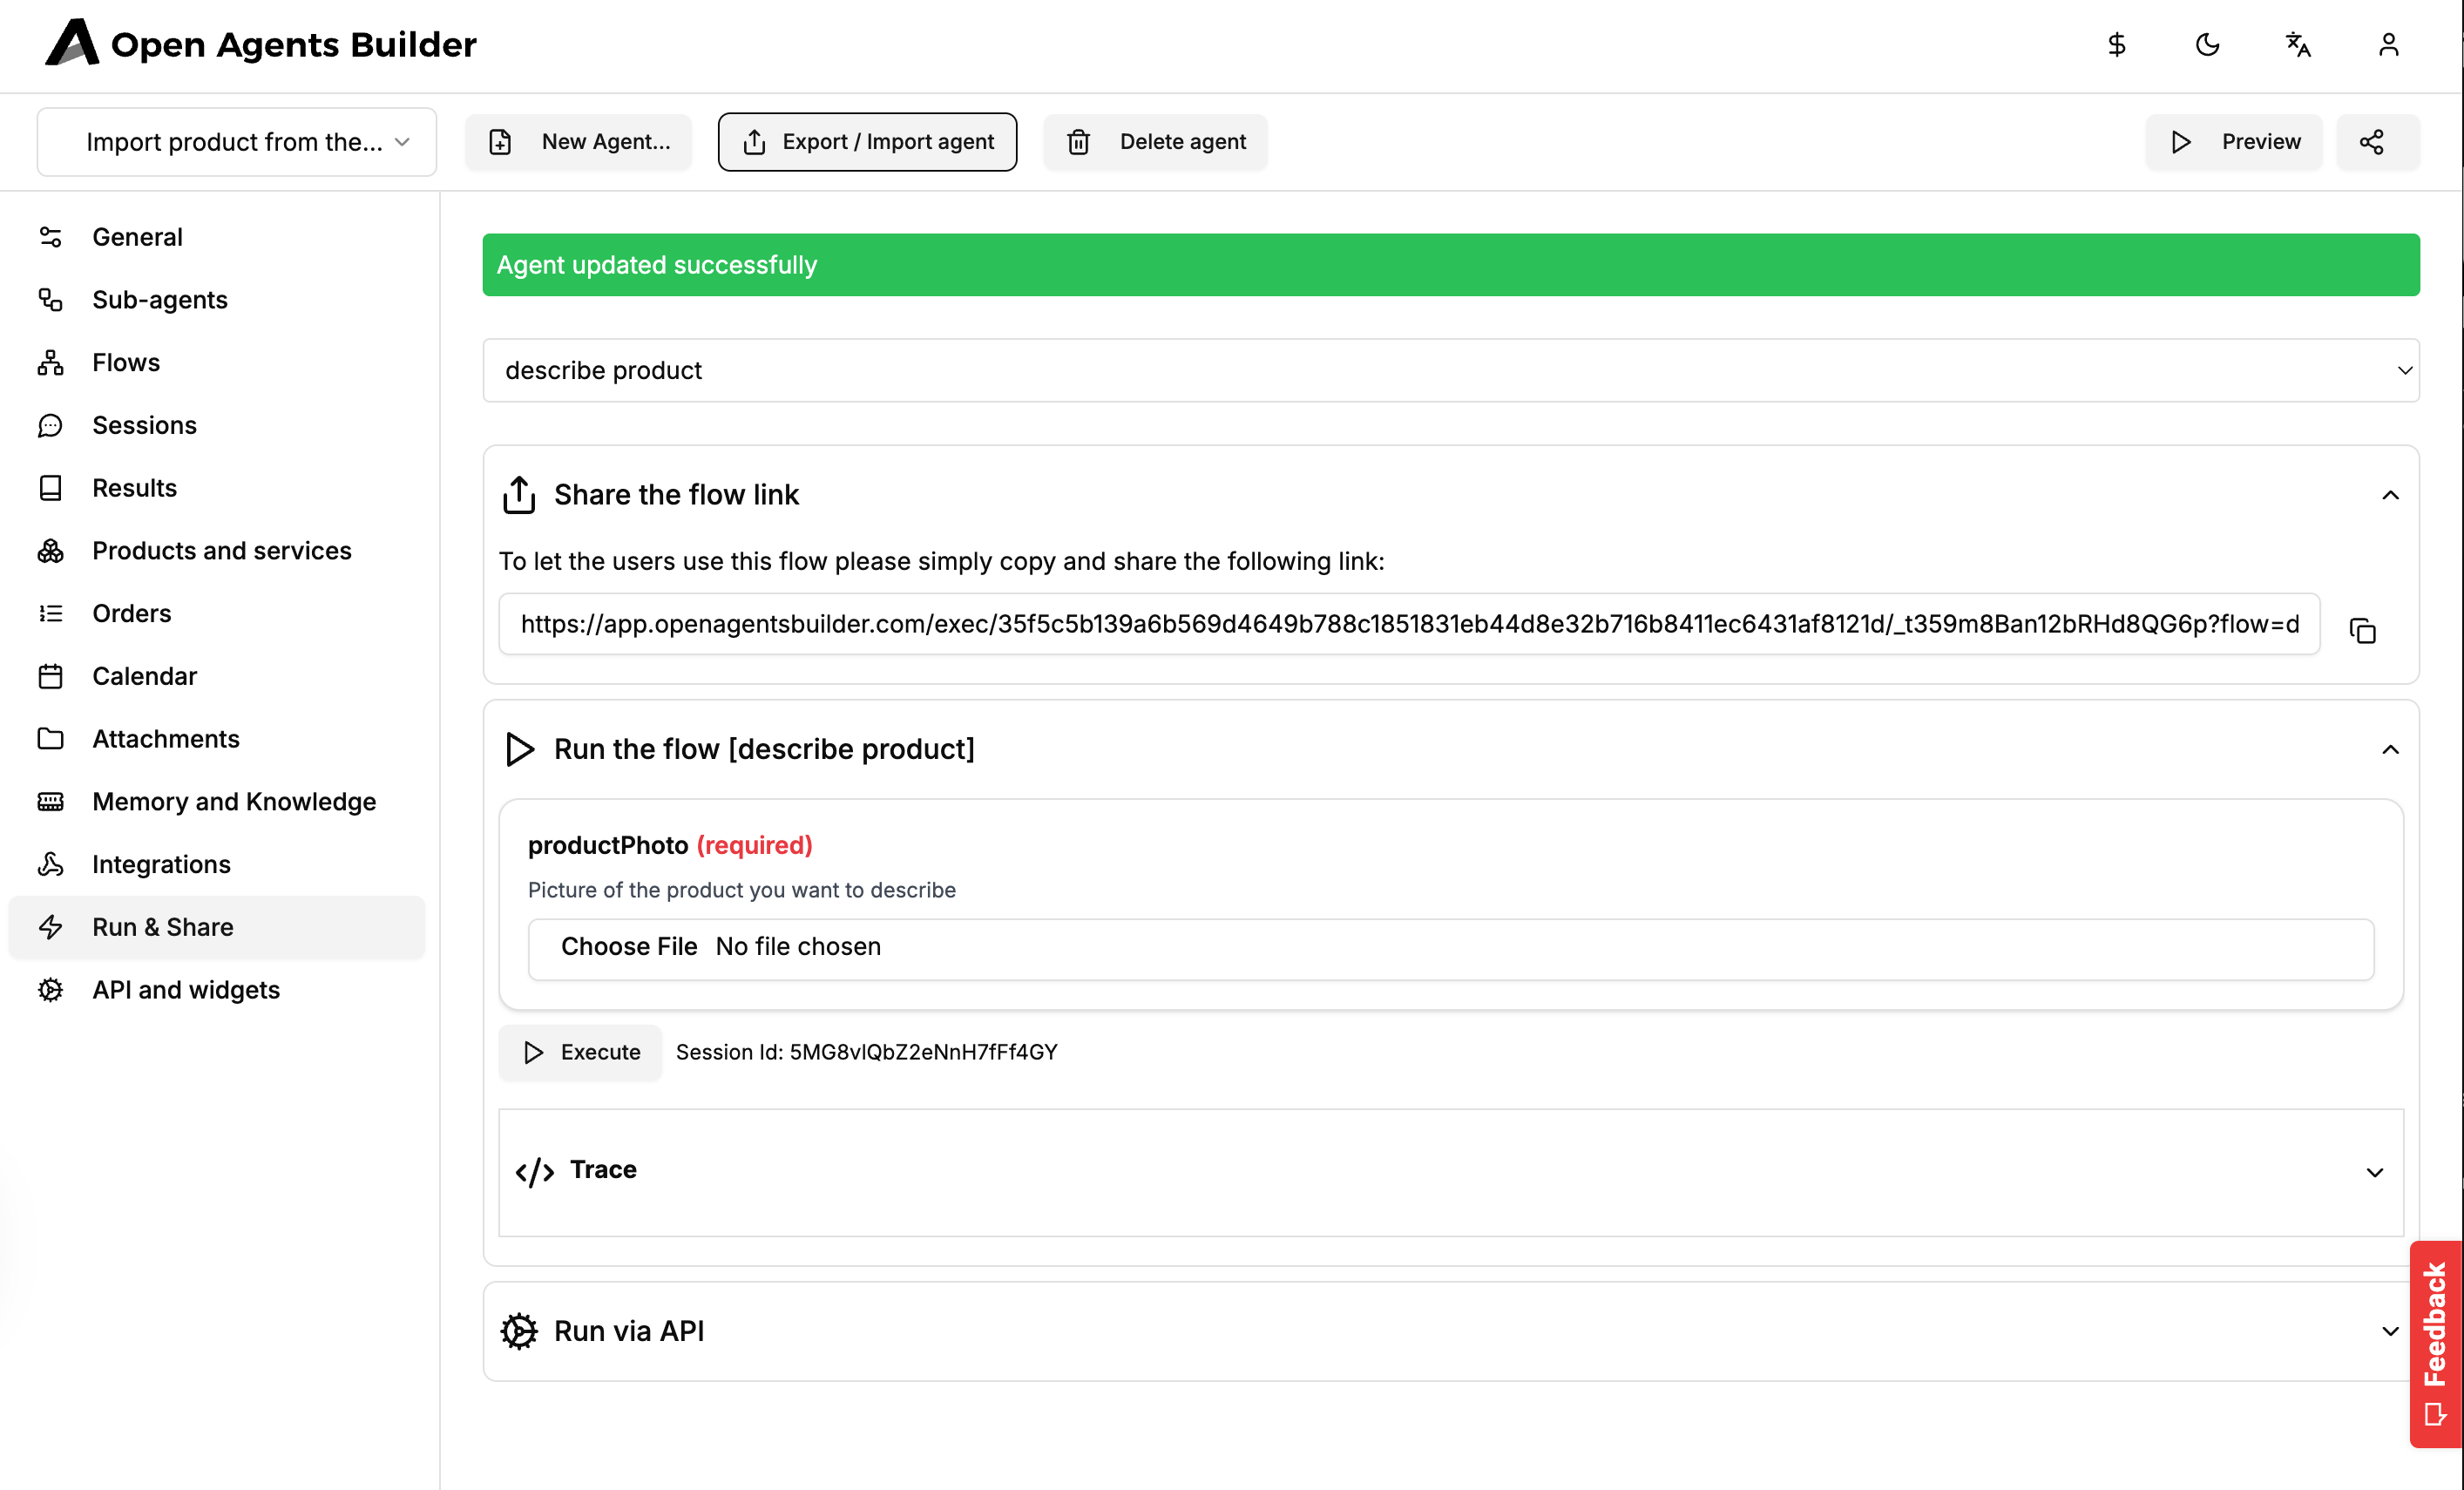
5. Share or integrate
5.1. One-click share link
- Go to Run & Share → Share the flow link.
- Copy the unique URL and hand it to anyone.
- They’ll see a minimal form (one file-picker) and the same result screen – no login needed.
5.2. Call from your backend
At the bottom of Run & Share you’ll find Run via API.
- Endpoint – already includes your
database-id-hashandflow=describe-product. - Modes
- Execution mode:
- Synchronous – waits for completion (small jobs).
- Asynchronous – returns a
result_id; fetch the result later (long jobs or batching).
- Output mode:
- Stream (default) – chunks partial output for progress bars.
- Buffer – delivers the whole response in one piece.
- Execution mode:
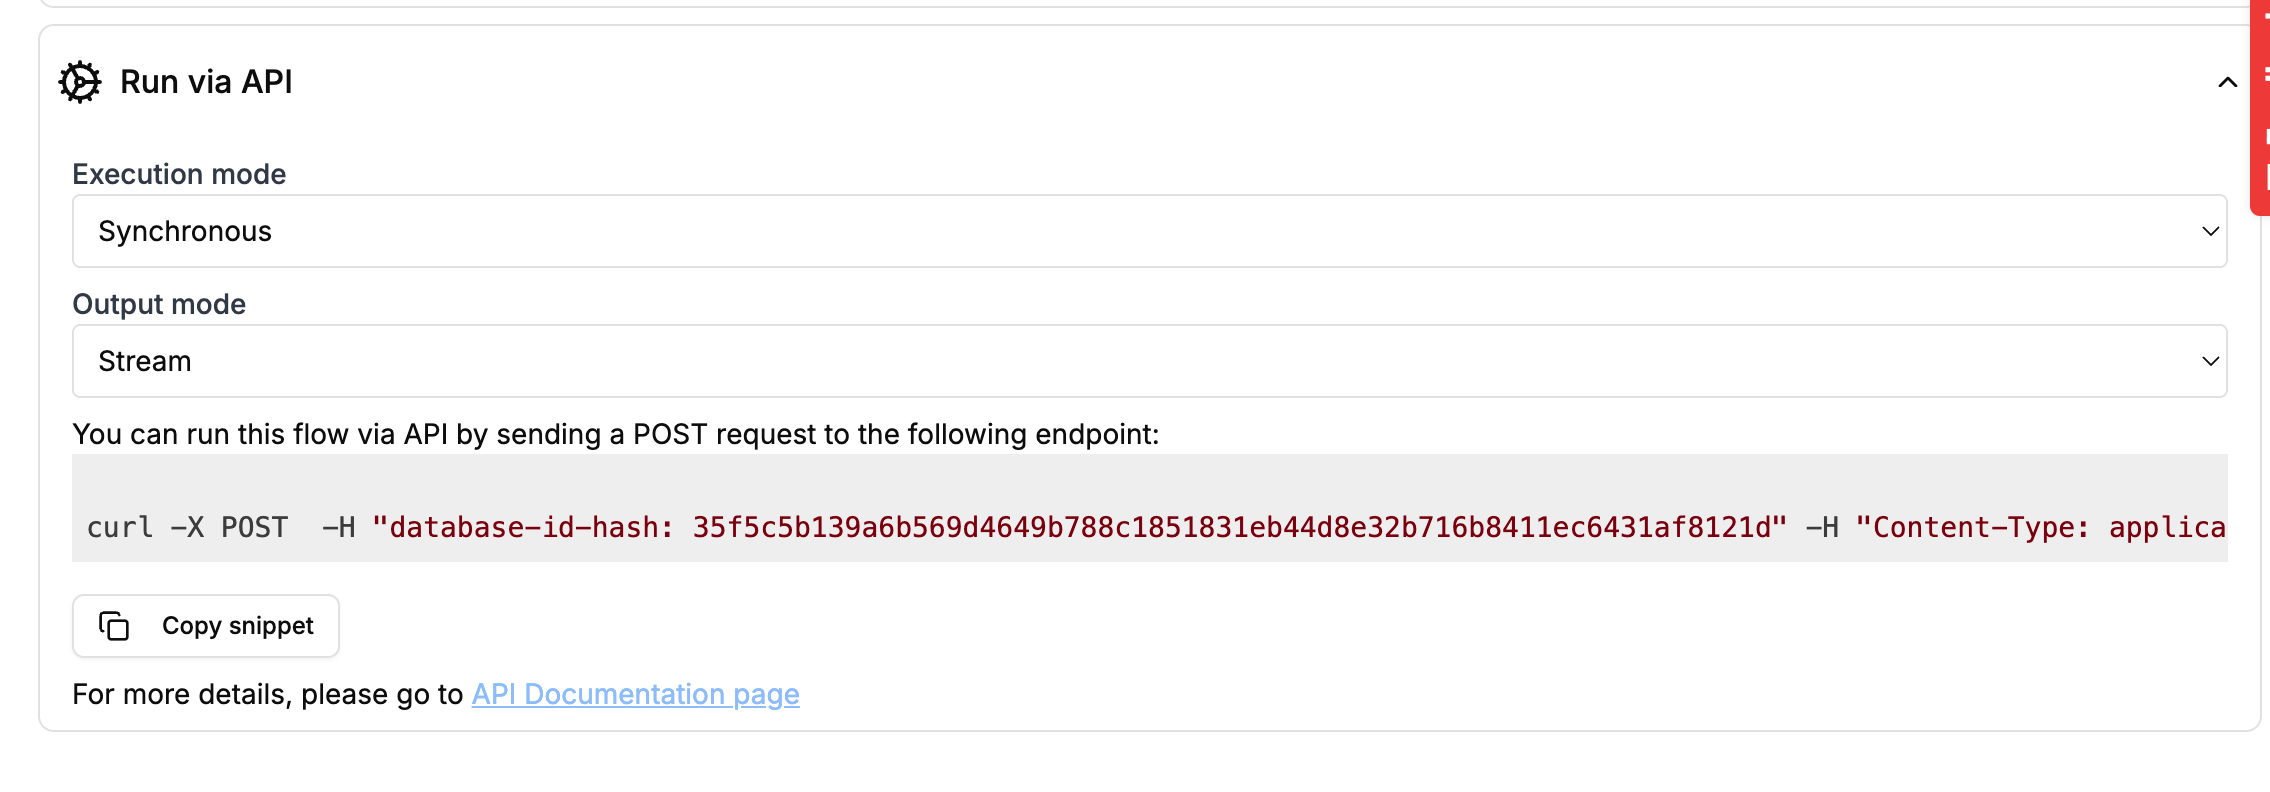
Here’s an example synchronous streaming request (replace placeholders):
curl -X POST \ -H "database-id-hash: 35f5c5b139a6b569d4649b788c1851831eb44d8e32b716b8411ec6431af8121d" \ -H "Content-Type: application/json" \ -F flow=describe-product \ -F execution=synchronous \ -F output=stream \ -F productPhoto=@/path/to/photo.jpg \ https://app.openagentsbuilder.com/execThe JSON response contains text (the product description) and attachments (if any).
6. Paste into Shopify (or automate it)
The curl snippet returned by the agent still contains:
{access_token}– your private-app or custom-app Admin API token.https://your-development-store.myshopify.com– swap for your store domain.
Run the command and the product appears in Shopify Admin → Products with the color- and size-option scaffolding already in place.
Tip: Once you’re comfortable you can remove the curl wrapper from the prompt and instead give the sub-agent the HTTP tool to hit Shopify directly – but keeping it as text first is a safe way to validate output.
7. Next ideas
- Bulk importer – switch to asynchronous execution and let users drop a ZIP of images.
- Attribute enrichment – add parallel steps: one agent extracts materials, another suggests price based on similar listings.
- Language variants – duplicate the description step for DE, FR, ES and merge the results.
That’s it!
You now have a no-code micro-service that turns a photo into a Shopify-ready API call. Duplicate the pattern for invoices, blog covers, or anything else your store needs 🚀